
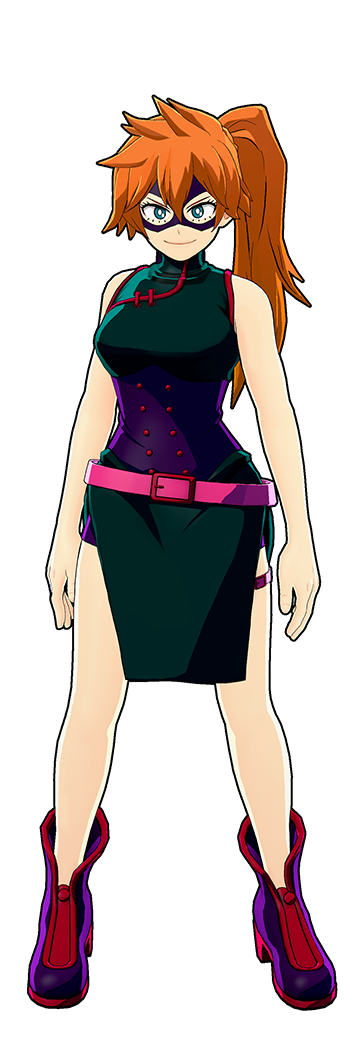


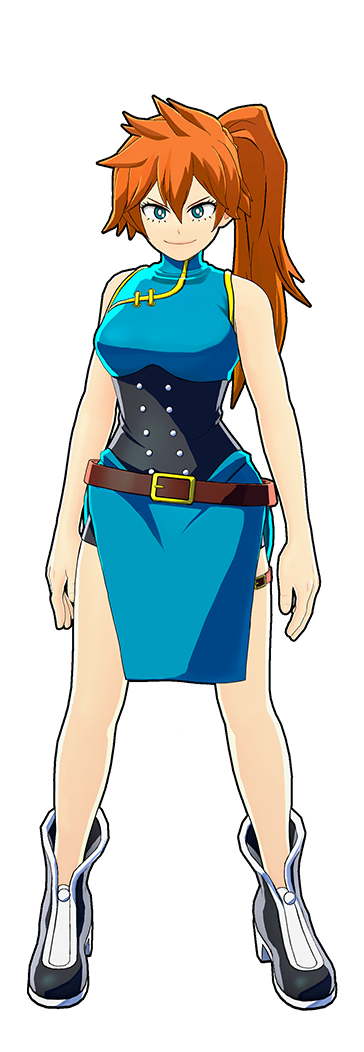
Hero Costume (Villain-Style)
This costume is what you should use if you are looking for Card Duplication with Fixer with decent damage, howerver this costume is good for being a support character rather then a demon. An option for a budget build.

Last Update: -
Itsuka Kendo (Twin Palm Strike) is a character that excels at pumping damage while also being very good against most of the cast, Strike kendo is very good at 1v1s using her shield and melees its a character that is very underlooked at, kendo is a newer meta character that was introduced in season 12 with one very notable weakness that being kendo is a bit weak against anyone that can grab kendo or anyone that ignores the beta state which seperates kendo from rest of the cast.


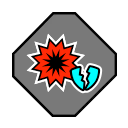
Unlike Stone-throwing Fist, this move is not a shotgun-style attack.
The move instead fires a shockwave that travels a somewhat short distance forward, but causes stagger on hit. This allows Itsuka to follow up with potentially any attack depending on distance and position, but she can also combo it into itself two more times before it sends the opponent into knockdown.
The move can also be charged to travel farther and deal more damage in a single hit, but it will knockdown instantly on hit. As such, you can do more max damage with the uncharged version, but can use the charged version to potentially snipe opponents from farther away.
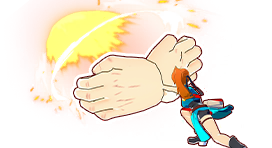
The move that this skillset is named after. Itsuka lunges forward with both hands and attacks the opponent. The move deals a decent amount of damage on hit and causes hard knockdown while also sending opponents flying back. The hitbox is extremely big due to the shockwave the move produces.
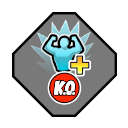
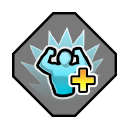
The real star of the show, which can be used by holding the button instead of tapping. This causes Itsuka to enter a stance that reduces damage received while also increasing her knockdown resistance. Taking hits during this time decreases the percentage bar even more, but the move gets stronger in return. Don’t let the defense go completely to your head, however, as certain multi-hit moves that would normally cause knockdown will potentially deal more damage and you’re vulnerable to tether grabs.
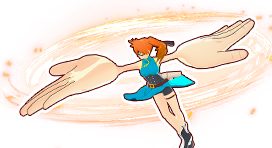
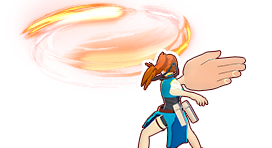
Known to some as “The Kendocopter”, this move is your primary movement tool.
On the ground, you’ll slide across the map at high speed until you either release the button or go for certain amount of time, at which point you’ll attack with a single finishing strike. In the air, you’ll be able to fly through the sky for a bit before gently falling down. Using it again before touching the ground while allowing you continue through the air, but you’ll fall much faster afterwards.
Both versions can be cancelled into a melee attack, allowing them to be used as a means of closing the distance on an opponent. The move also does consecutive hits to any downed opponents, making the move your primary means of quickly finishing them off.
Kendo’s Special Action allows her to carry an ally with her enlarged hand. This is a great team ability, as it lets you throw your teammates across the map. For example, you can use it to reposition a character with limited mobility, such as Momo Yaoyorozu, or to help a low-HP teammate escape.
However, keep in mind that during your Special Action, you cannot attack. This leaves you vulnerable, so be aware of nearby enemies who can easily punish you while you’re stationary and unable to fight back.
You can also use this ability offensively — for instance, by throwing a teammate forward to quickly chase down an enemy. Once thrown, your teammate can immediately use their mobility skills to follow up. Technically, allies can still attack while being carried without dismounting, but this has limited utility and is mostly for fun. Certain attacks that root the user in place, such as Ibara’s moves, will cause the carried player to dismount.
Interestingly, a Hawks player can even carry a Kendo who’s carrying another teammate.
Strike Kendo has high mobility, allowing for new strategies with this set that weren’t possible with Assault. For example, you and a teammate can pursue a fleeing opponent if you throw your teammate properly, whereas with Assault you would mainly be sending in your teammate to pursue alone.
Ground Melee
A 4-string combo with a strong lunge when you're close to the opponent. This can be used as an alternative to Beta when Gamma is too slow against faster characters such as Iida, Rapid Deku, or Rapid All Might. You can also choose not to complete the full melee chain and instead interrupt it midway to mix in another skill, such as Alpha or Gamma. Be cautious when using melee attacks, as you’ll be vulnerable to other enemies while performing them. (See more in the combo section.)
Air Melee
Kendo jumps and lunges forward enlarging her hand for a big hit. You can land two air melees before the knockback for a combo with any of your skill depending on where you are. You can mix your combos between melees and skills, more onto that in the combo section.

Gamma Launch
Blah Blah
The different ways you can combine and chain various skills for higher damage within 500 DP (Downpower). The downpower of Itsuka Kendo's abilities are as follows:
Alpha Skill: 200 DP (Uncharged), 500 DP (Charged)
Beta Skill: 500 DP
Gamma Skill: 265 DP (Spin), 100 DP Final Slap
Ground Melee 1-2-3-4: 100 DP (Individually), 400 DP (Whole Chain)
Air Melee: 150 DP
The text of the combos below will be colored by how true they are, in this case, we will define as "True" combos that, without 3rd party or tuning interference, can only be escaped/interrupted by Overhaul and/or Mirio, as those are special cases.
White Text means that part of the combo is True on both GP and HP.
Green Text means that part of the combo is True if the target is on HP only.
Blue Text means that part of the combo is True if the target is on GP only (Guardbreak hits are considered GP hits).
Red Text means that part of the combo is Untrue, and therefore the enemy can escape it.
The DMG of the following combos at max level and accounting for the character's strike role is classified under the following tags:
Basic DMG (100-149 DMG), Basic+ DMG (150-199)
Light DMG (200-249 DMG), Light+ DMG (250-299)
Medium DMG (300-349 DMG), Medium+ DMG (350-399)
High DMG (400-449 DMG), High+ DMG (450-499)
Heavy DMG (500-549 DMG), Heavy+ DMG (550-599)
Deadly DMG (600-649 DMG), Deadly+ DMG (650-699)

Strike Slots: Dabi > Kirishima > Bakugo > Else > Beta DMG
Assault Slots: Assault Endeavor > Assault Shigaraki > Else
Rapid Slots: Rapid Bakugo > Rapid All Might > Else
Support Slots: Overhaul > Ibara/Kurogiri/Momo > Mr. Compress > Cementoss
Technical Slots: Kaminari (Lightning) > Aizawa > Toga > Else
| The list of recommended special tunes (not ordered): | ||
|---|---|---|
 |
Wall Runner Since Kendo lacks a bit of mobility you can use wall runner to compensate the lack of mobility. It also removes the need of collecting various cards such as technical and rapid cards. |
|
 |
Embrittlement Kendo's melee is good, you can use embrittlement to amplify your damage. You can activate it using any sort of melees, pretty self explanatory. It also allows your teammates to deal more damage to the enemy you've struck. |
|
 |
Quirk Factor Release Since Kendo cooldowns are very long the tuning, it helps you in every way, movement, combos. |
|
 |
Fixer Since Kendo does a lot of damage, you can use fixer to do even more damage with the right build and the right slots. If you can pair this with Embrittlement you've got yourself some absurd damage. |
|
 |
Revenge Rapid A budget alternative to Wall Runner that works well for very specific builds. |
|
 |
Trance Blow Trance blow can be used to slow enemies using your melee to do insane damage, however depending on character and chaos around you it can backfire. |
|
 |
Card Duplication Recommended tuning for somewhat experienced Kendos, more levels are always good, especially if you can KO people easily. |
|
 |
Crushing PU Charge Recommended for experienced Kendos who can KO people easily, getting PU per KO always helps you get away from situations where you would not be able to otherwise. |
|
 |
Symbol of Peace Useful for extra survivability, especially in the early game. |
|
 |
Willpower This tuning works with every character, as surviving lethal attacks with 1 HP is always useful. However, you gotta be wise with how you use your i-frames, Kendo's mobility is quite low, so this tune will only delay your death if you don't play wisely. |
|
 |
Revenge Strike Since Kendo does absurd damage, revenge strike will always work with her. Getting a damage boost upon being guardbroken is nice. |
|
 |
Revenge Support Heals you when guardbroken, this tuning is useful if you like using the Poison Mist to your advantage. This tuning is very specific and useful, recommended for newer Kendo players. |
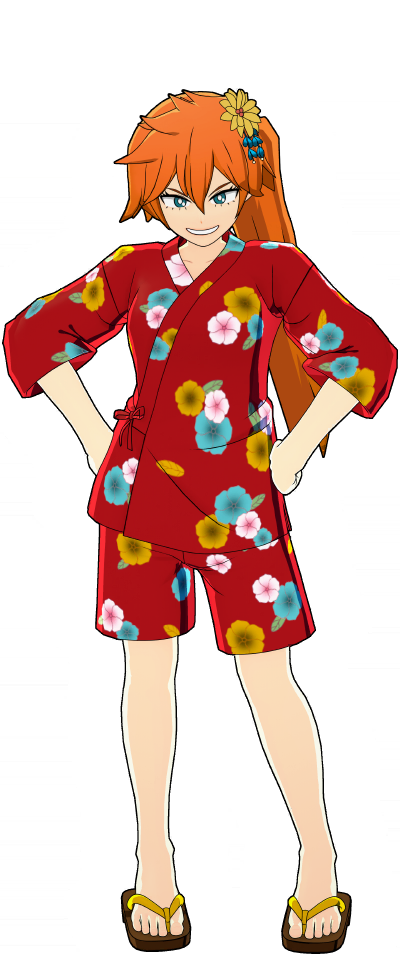
This costume is what you should use if you are looking for Card Duplication with Fixer with decent damage, howerver this costume is good for being a support character rather then a demon. An option for a budget build.


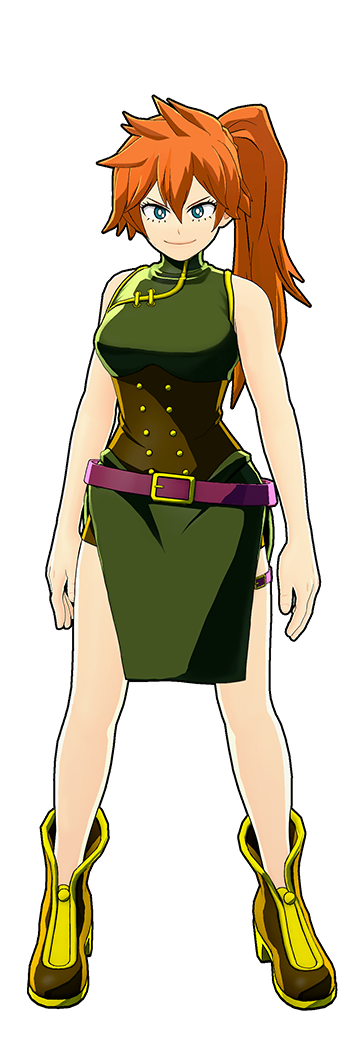
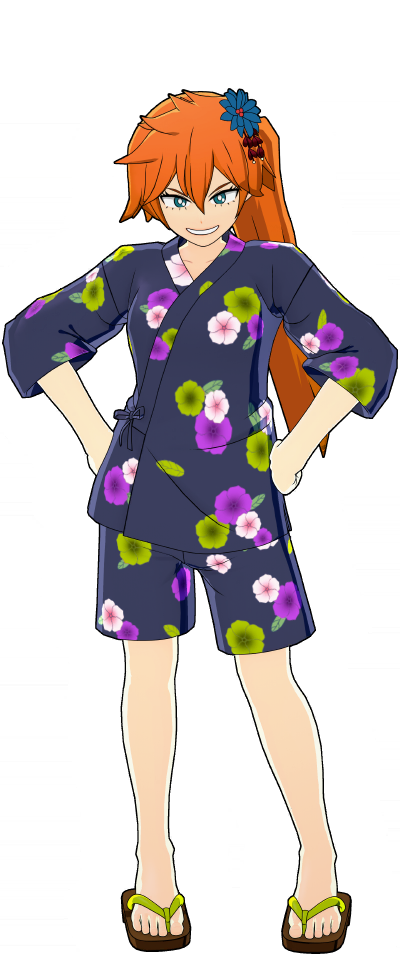
This costume is very good for someone looking for damage without using PUR costumes combined with good special slots. You can pair Trance Blow and Fixer on this build for pure damage. High-Speed Replenishment works too, however that is totally up to you.


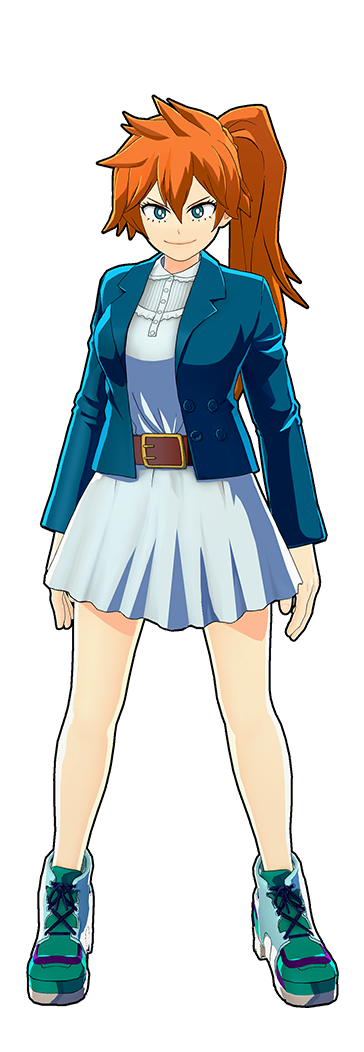
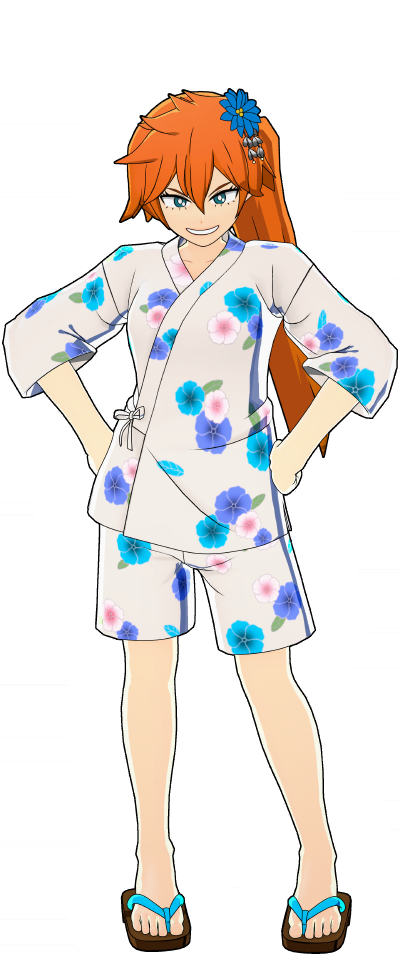
This costume is what you should use if you want to use Embrittlement on a budget build. The costume has a good combo of everything: Damage, Defense and Reload. You can use Embrittlement + Fixer or High-Speed Replenishment totally up to you. The downside of this costume is the lack of red slots.

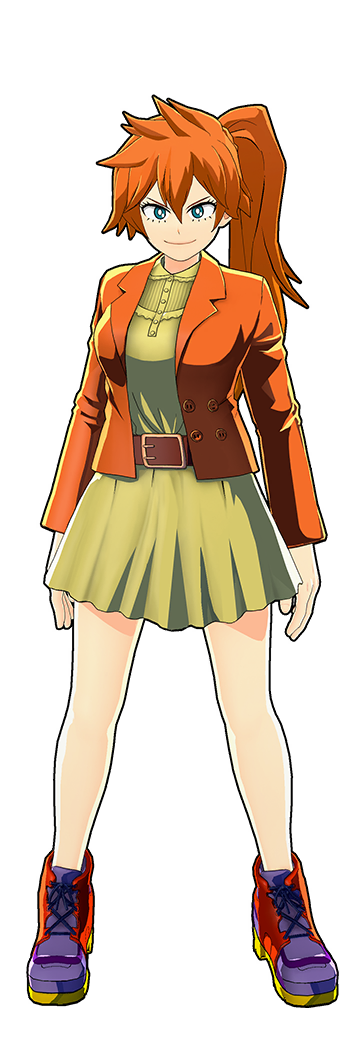
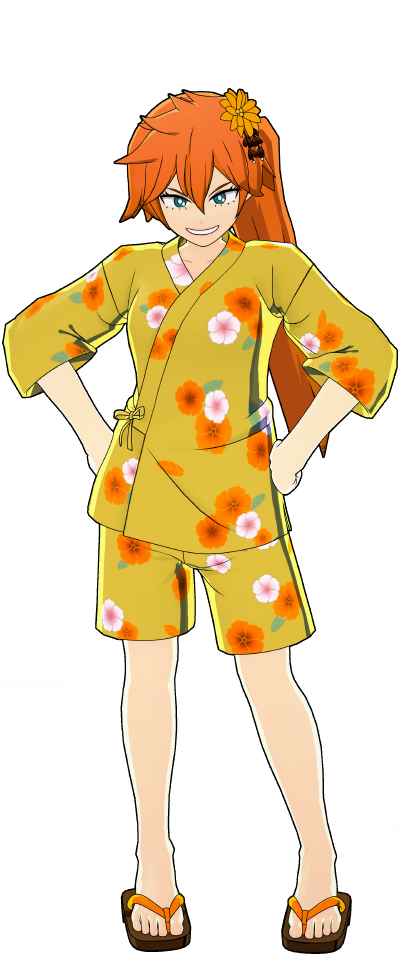
If you want to use Willpower recommended using this costume as it has good normal slots. For budget builds this is one of the best costume to use as it has pretty much everything you need except for Embrittlement which you can compensate for with Willpower.


Recommend using this costume if you want to use Wall Runner PUR build, however it's recommended you always use HP sucker on this build, this costume has good balance of everything.

Recommended using this costume if you want to make a build purely made for survival, as you can combine Willpower with Revenge Assault on this build. You can also use Trance Blow in this build, although not recommended. You can even use Symbol of Peace too however it's also not recommended.

Recommed using this build for another willpower build howerver you can use willpower on this build too making this costume even better. It has good normals too you can also use GP sucker and card duplication on this costume too it really is upto you what you want to use.

Recommeded using this build for another Willpower build, howerver you can use Trance Blow on this build too, making this costume even better. It has good normals too. You can also use Wall Runner or Perception for the Rapid slot.
If you want to build a PUR build and are looking for damage with good special slots, you can use this costume as it has good mix of everything, the only downside of using this costume is the lack of blue normal slots. Recommended combining embrittlement with HP Sucker on this build as this costume has alot of red slots.
Recommend using this costume for a PUR Willpower build combined with HP Sucker as there's nothing better on this costume.
You can use Embrittlement on this costume combined with Wall Runner or GP Sucker. It's a decent Embrittlement + Rapid slot costume if you are looking for some sort of movement while having Embrittlement.
Recommended using this build for newer Kendo players as you can use Revenge Support on this build combined with Fixer, nothing crazy on the normal slot side like with every Yukata costume, so it's recommended making full use of Fixer on this build.
Recommended for newer and passive Kendo players as you can use Symbol of Peace/Space Hop combined with Compression Magic, Warp Heal or Reinforced Revive to help out your team, however only use this costume if you are a really really passive Kendo and very new one.
Recommended using this build for Revenge Strike with Wall Runner/Card Duplication/GP Sucker since all of the yukata costumes follow same theme on the normal slots. Recommended making full use of Revenge Strike on this build.
You can use Space Hop or Embrittlement on the first special slot while on other special slot you can use Critical Permeation, it's a decent costume if you are looking for a costume with Critical Permeation.
This is a decent budget costume for an Embrittlement build as it has good amount of strike slots, with decent secondary slot. Recommended tunes for this costume are Embrittlement and Compression Magic.
You can use few things on this costume: Willpower, Trance Blow and Wall Runner or Acceleration tuning. It is a very strong costume.
Just like Festival Yukata (Villain-Style) this costume is literally same as that costume. You can use Embrittlement with Acceleration or Wall Runner on this costume.
Best recommended tuning for this costume is Revenge Strike with Embrittlement. There is literally nothing better to use on this costume.


Difficulty Score: 🟢Favorable🟢
You can outrange Assault Deku using your alpha and charged alpha, while also charging with both gammas and beta for a combo as he cannot really do much to you long as you use your beta properly. Assault Deku cannot compete with Strike Kendo's alphas stuns, preventing escape and retaliation, and the damage Strike Kendo does.

Difficulty Score: 🟢Favorable🟢
Full Bullet can compete with you damage-wise. Strike Kendo can easily defeat a Strike Deku using beta state and its tracking properly. Similar to Assault Deku, he also cannot escape a Strike Kendo once Strike Deku has engaged the batte. Although Strike Kendo has superior mobilty, be mindful of your cooldowns against a Strike Deku player that understands the match-up.

Difficulty Score: 🟢Favorable🟢
Your beta is a god move expect the melee and gamma and counter him with Beta or a simple combo should kill him easily.

Difficulty Score: 🟢Favorable🟢
Fighting a default Bakugo is simlar to fighting an Assault Deku, but Bakugo trades less mobiity, for more damage. He cannot compete with Kendo's movement and damage. Once bakugo has engaged the fight, he has a very chance of getting away as Strike Kendo's alpha stuns or puts them in hard knockdown. Worst case, you can also use gamma to chase him down.

Difficulty Score: 🟢Favorable🟢
Without experience, fighting rapidgo can be tricky, especally at low lvls. While Rapid Bakugo can compete with Strike Kendo's damage and mobility, he lacks the HP that Strike Kendo has. As Strike Kendo's alpha stops whatever he is doing, you can then start a combo. Strike Kendo's beta has insane tracking which will catch Bakugo doing tricky movements.

Difficulty Score: 🟡Even🟡
This matchup is Even because Ochako being a rapid. You can TOD a Rapid Ochako, however Rapid Ochako can do the same to you. Depending on how far Rapid Ochako is, stop Ochako with alpha, charged or uncharged, then to start a combo with another alpha stun or air gamma.

Difficulty Score: 🟢Favorable🟢
This is one of the easiest matchups for strike kendo. You can block most of Assasult Ochako's moves, her alpha and beta, by using your own beta. Ochako's Gamma is the main thing you must look out for in this match-up. If you cannot dodge the gamma, you will take lots of damage. Be careful when retreating just you can chase Ochako, Ochako can chase you.

Difficulty Score: 🟢Favorable🟢
This match is one of the easiest for Stike Kendo due to the fact the Beta activation is instant, unlike Kendo's Assault counterpart. Kendo also has both superior mobility damage and combos than iida. iida being a melee character, Strike Kendo can block everything with beta. Use beta, dodge properly, and punish the iida coming towards you.

Difficulty Score: 🟢Favorable🟢
Shoto can compete with you in terms of damage and combos. You have to be careful as his Beta does insane damage upclose and can nearly kill you off 1 combo. With all that being said, the matchup is still in your favour as you have superior mobility, superior damage, and with proper beta usage, he can't do much to you.

Difficulty Score: 🟢Favorable🟢
Fighting a technical shoto can be cancer at times. His insane alpha hardknock downs you with two shots. However, as Tech Shoto has zero movement, he can easily be jumped and there's nothing much he can do about it. speaking of damage everything shoto does kendo does it better and for more damage. The only thing you have to be careful when fighting a Techn Shoto are his gammas. He can use gamma combined with the environment to put himself in the advantage, however, excluding Gama, you can still block everything he does.

Difficulty Score: 🟢🟢Very Favorable🟢🟢
This matchup is very similar to Rapid Bakugo's except Froppy is slower. Strike Kendo can match Froppy's mobility, Kendo's Alpha will stop Froppy from escaping, and Strike Kendo's beta tracking will catch Froppy's tricky movements.

Difficulty Score: 🟢🟢Very Favorable🟢🟢
Your beta blocks everything he does. Don't get too overconfident, he still does a lot of damage and can turn things around easily. The only move you really have to be careful of is his gamma due to it's damage, but it does not hard knockdown you.

Difficulty Score: 🟡Even🟡
Strike Kiri is literally Strike Kendo. He does everything Strike Kendo does, insane movement and combos. This is one of the only few matchups you have to be a bit mindful of when fighting, as both of you have insane damage and movement. However Strike Kendo is still a better character, but you have to know what you are doing to win against a good Strike Kiri.

Difficulty Score: 🟢🟢Very Favorable🟢🟢
You have so much more damage and movement than Denki that he cannot do too much to you.
Beta can block everything he does to you and to punish him coming towards you. He can't do much to you long as you use beta properly.
However, if you are not in beta state, you have to be a little careful fighting Denki because he can still stun you with Gamma or Special Action, which will either do alot of damage or TOD you.

Difficulty Score: 🟢🟢Very Favorable🟢🟢
If you see a Denki sniping above a building don't get greedy, let him come to you. Both of you have similar combos. His stun combos don't hurt as much as his default counterpart. Upclose you outdamage him by a lot, and he cannot do much about your armored gamma. On this match-up, don't let Denki get away, whenever he tries to use melee or gamma.

Difficulty Score: 🟢🟢Very Favorable🟢🟢
Momo's Beta is a physical attack, so you can block it with your own Beta and punish. You have to be a bit mindful when fighting a Momo really close and in the rooms as Momo's cannons do a lot of damage even while shielding with your Beta. Other than that, it's very much in your favor.

Difficulty Score: 🟡Even🟡
Monoma can do everything you do, but better and with infinite movement. Your kit has the same luxuries he has except for cooldowns. This matchup is dependent on who is the better player. You have to always be careful about skills he has stolen and with his base kit gamma as he takes no damage. Remember that you can knock a Monoma out of sky with your charged alpha.

Difficulty Score: 🟢Favorable🟢
Assault Kendo has same damage as her Stike counterpart. There is one huge advantage Strike Kendo has, which are better and more dangerous combos along with insane mobility. Be careful about her armored Gamma and annoying Betas, as a good Assault Kendo can stop your upcoming combos. Both Strike and Assault Kendo shields are good at certain cases. However, in the match-up, your shield is worse than Assault Kendo's because hers stops everything you do upclose and can be held indefinitely. An advantage your Beta has is that it's instant, unlike your Assault counterpart. You can use that to react or read whatever she does to your advantage to win this matchup.

Difficulty Score: 🟡Even🟡
Well you are fighting literally you, you know what moves she can do and she knows what moves you can do however only thing i would recommend in this matchup is the insta beta as it stomps a kendo combos punishing you, you can also do the same thing in this matchup such as bait out a beta or gamma for a free punish for the opponent gamma or beta or even a miss move, this matchup depends alot on you and what you can do.

Difficulty Score: 🟡Even🟡
Strike Kendo can outdamage/counter Ibara upclose, however you gotta watch out fighting an Ibara long range. Ibara counters Strike Kendo at this distance thanks to her alphas special piercing property.

Difficulty Score: 🟢🟢Very Favorable🟢🟢
Always punish a mirio for moving, especally for using his beta. Kendo's Alpha will stop Mirio from escaping with Alpha. It's recommended to use Kendo's beta to punish his beta instead of dodging. Kendo has more dangerous combos and mobility.

Difficulty Score: 🟢Favorable🟢
Tech Mirio shouldn't be too much of an issue, as Strike Kendo has superior mobility and damage. As long you as you know when he is about to use his beta, you can shield his beta and punish with your own. Be careful of both his alphas and gammas and bBe mindful of fighting a good mirio as they can outplay you and bait out a beta for a free punish.

Difficulty Score: 🟡Even🟡
Be mindful during this match-up. Both character have insane combos dealing insane damage and insane movement that they both can chase each other. Be careful when you use beta vs Tamaki because Tamaki, being one of the few grabbers in the game, can pull you in from miles away.

Difficulty Score: 🟢Favorable🟢
Nejire is slow and cannot do much to you besides hope you get hard knockdown using her Beta, which you can negate using you own beta. Alpha her and do you air combos to kill a Nejire.

Difficulty Score: 🟡Even🟡
Shinso is one of the few grabber in the game with insane damage with movement. You have to be careful in the match-up as Shinso can capitalize on everything you do including your combos and beta. Your best bet to win this match-up is to land all your alphas and combos properly and to not let a shinso escape.

Difficulty Score: 🟢Favorable🟢
You have better mobility, better damage, and better combos than All Might it's not even funny. Once All Might has engaged a Strike Kendo, it's already game over for him. Kendo can block everything All Might does with beta and punish for free with combos. He cannot escape Strike Kendo. If he tries to you can stun with alpha. Utilize Beta, Alpha and Melee string properly and it won't be an issue.

Difficulty Score: 🟢Favorable🟢
The only real thing you should be careful of when fighting an Rapid All Might is his armored alpha and the gamma.

Difficulty Score: -
Coming Soon...

Difficulty Score: 🟡Even🟡
Aizawa can ignore your beta state and he can use his Special Action to punish anything you do. Both of you have insane combos, however Aizawa combos do alot less damage then kendos. You can use various tactics to turn this matchup around using your beta with insane tracking and proper dodges. You have to be mindful when fighting a good aizawa.

Difficulty Score: 🟡Even🟡
Both of these character have insane damage, however Present Mic lacks mobility. Be careful against his beta as it ignores any armored moves in the game. Your best bet to win this matchup is to play off his mistake.

Difficulty Score: 🟢Favorable🟢
Strike Kendo stomps Cementoss with insane damage mobility and combos that he can't really do much unless he's in a building. You have to stop his beta and gamma, and use your mobility to your advantage to win this matchup.

Difficulty Score: 🟢Favorable🟢
Endeavor cannot really do much to kendo. Strike Kendo has insane movement and more damage than Endeavor that he cannot really compete. Use your combos to kill and him easily. Be mindful of Endeavor's betas as it deals alot of damage and ruins Strike Kendo's momentum.

Difficulty Score: 🟢Favorable🟢
Assault Endeavor can be a bit tricky to fight due to his beta, however he still lacks in mobility and doesn't have anything to put you in a knockdown state. Be wary of Assault Endeavor's Beta, use Strike Kendo's Gamma or Beta to negate his Beta. Use proper combos combos and stuns to kill an assault endeavor.

Difficulty Score: 🟢Favorable🟢
You have superior mobility than him that he cannot run away from you even if he tries to do so. You can block his beta as it's a physical attack, and you can use your beta to punish anything he does. The only thing you have to be a bit careful about is his annoying gammas.

Difficulty Score: -
Coming Soon...

Difficulty Score (Small Form): 🟢🟢Very Favorable🟢🟢
Difficulty Score (Giant Form): 🔴Unfavorable🔴
Strike Kendo beta's can stop everything from Mt. Lady. Both Mt. Lady and Strike Kendo have good combos, but Kendo's have better damage. Small Form Mt. Lady lacks on both damage and mobility. During her Giant form, be careful, you retaliate with your gamma to shred her.

Difficulty Score: 🟢Favorable🟢
Strike Kendo has insane mobility and insane damage that he just cannot compete. Watchout for Strike Shigi's grab as it has armor meaning it can ignore your Gamma.

Difficulty Score: 🟢Favorable🟢
Both of you are combo heavy characters, however Strike Kendo has a lot better movement, more dangerous combos, and insane damage. Once an Assault Shigi engages, he cannot really run away from you as your alpha stuns him. This matchup shouldn't be too hard long as you use beta properly and utilize combos and alphas too.
Difficulty Score: -
Coming Soon...

Difficulty Score: 🟢Favorable🟢
Literally like fighting a assault deku literally all the rules you apply there applies here, the only real move you have to be careful of is the beta as its easy to land and deals decent damage while also hardknocking you however Base kit afo is a very favorable fight as he is one of the weaker character right now. The only hope he has to beat you is proper dodges and good betas. Kendo has more movement and damage it should not be too much of an issue.

Difficulty Score: -
Coming Soon...

Difficulty Score: 🟢Favorable🟢
Technical Dabi he cannot do anything to you. The only thing you have to be a little careful of are the Tech Dabi Betas as it stops your combos and movement.

Difficulty Score: 🟢Favorable🟢
You can literally block everything he does with beta while taking almost no damage. Dabi lacks great movement, so he can't run away from you. If he does, throw Alphas at him to keep him stunned.

Difficulty Score: 🟢Favorable🟢
You can block everything Toga does. You can punish her if she tries to close the distance. Dodge properly against her Gamma, so she can't use your kit against you.

Difficulty Score: 🟢Favorable🟢
Most of her moves are physical, fighting a toga should not be too hand long as you use beta properly to block the upcoming beta and gamma for a free punish and combo.

Difficulty Score: 🟢Favorable🟢
Twice is one of the slower rapids in the game and one of the combos based rapid. You can use your beta to block everything he does. Remember to kill his clone ASAP as it can mess up your combos easily.

Difficulty Score: 🟢Favorable🟢
Mr. Compress has insane Alpha damage and good mobiilty, however what he does Strike Kendo does it better. Kill him before he even has chance of escaping. Stop his escape using your beta and charged alpha against his armored gamma. Your beta still blocks everything he does, but you take a lot of damage so be a bit careful.

Difficulty Score: 🟡Even🟡
Both of these character have insane mobility, but always be mindful of Kurogiri's beta and his gamma state when really high up in the sky. Kendo cannot contest him well in the sky. At long range, Kurogiri can kill you with 2 combos. Up close, this is one of the easiest matchup. You have to get close ASAP to win.
Might need a rewrite due to the Kurogiri nerfs, but I don't think it would change too much.

Difficulty Score: -
Coming Soon...

Difficulty Score: 🟢Favorable🟢
Your beta can block everything he does. He lacks in movement department, use that to your advantage. As you use beta and combo properly in this matchup, it shouldn't be too much of an issue fighting a overhaul.