Guide developed and supervised by: Nugget (PS)
Contributers: Volco (Steam)
Last Update: April 4th 2026
A high damage beamer with big single target damage and high aoe making him a menace in team fights. When mixing his Quirk Skills together he can shut down most offensive pushes and turn the tide of a fight.
Best Map: Chaos City and UA Island


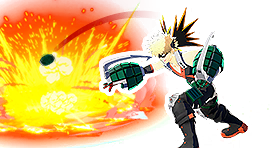
Alpha Skill - AP Shot
A medium range beam that lingers for half a second after being fired. A solid damage source in all cases if you can land it. The piercing is good for catching players who run in straight line around cover or think they are safe being completely still behind cover. Keep in mind the trajectory might change slightly when piercing. This Quirk Skill gets 2 ammo at levels 4 and 9 for a max of 10, which is odd since most alphas only get 1 ammo and a size increase. This detail allows you to level it to 4 and leave it sit there while you focus on more level dependent Quirk Skills, especially since the size of the alpha doesn't increase.

Beta Skill - Improvised Grenades
An impact grenade with a set fuse. The aoe makes it easier to land then alpha and having little endlag allows for following up with Bakugo's other Quirk Skills almost seamlessly. The two hit knockdown is handy when you need to get someone off you or stop them from being able to run. At levels 4 and 9 you get 1 extra bullet allowing for 4 total grenades. You also get more aoe, range, and reload speed at those levels making it really worth leveling quickly. At higher levels throwing the grenade pass corners, structures, and even shields is an easy way to get free damage on unspecting targets. The aoe and speed of beta makes it so you can easily cover an eneimes wake-up option if they are close to a wall or on the ground. A neat detail about beta is that when it reloads it reloads all charges at once. This allows you to manipulate the reload to the point that you can seemingly keep throwing betas (be careful of throwing all your beta when it isn't nessacary. The penalty reload resets the normal reload timer)

Gamma Skill - Howitzer Impact
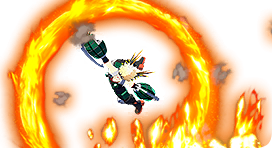
A forward spinning wheel that hits multiple times doing small bits of dmg quickly before releasing a large explosion dealing major damage. The final explosion can be released early by letting go of the input. Considering its semi grab like nature holding this move for all the mini hits is truly where damage really racks up be careful though as you can be interrupted and lose out on the final hits damage. The grab like nature of this move also allows you to drag eneimes deeper into storm which can be deadly if they are low in health or are trying to get out. This ability by far is Bakugos scariest tool damage wise. The final explosion instantly knockdown enemies making it a perfect tool for ending team combos (or interrupting enemy team combos) This move has tracking on start-up this tracking can pull the gamma upwards for the first second or two. This means even more airborn characters have to worry about it. At levels 4 gamma gets a second charge, increased aoe, and increased distance. Making it a core level to hit and level 9 has everything 4 does expect an extra bullet. While this move can be good for mobility be careful as the endlag leaves you wide open to counter attacks, same thing for missing. Gamma ending hitbox size also makes it really strong at wake-up catching and with the mini-hits causing a semi grab they can also be used to cover someones wake-up or drag them into 200+ damage for wasting i-frames

Special Action - Explosive Speed
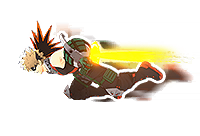
A dash that goes wherever your aiming for decent mobility. Perfect for setting up different barrage attacks, chasing, and escaping. This is Bakugo's main movement tool. Bakugo can cancel his special action early into air melee and this lets you hold more momentum. Repeatedly air meleeing allows you to go farther. However, only using air melee once allows for more control and allows you to to use your other Quirk Skills to go on the offensive. However, because of air melees tracking if you arent careful it can pull you twoards enemies, reducing how much height you would gain normally. Launching towards them decently fast can be helpful but can be detrimental as well. Be careful when trying to use the special action after making a wake-up option as most will try to blast you immediately to prevent you from getting away. Sometimes waiting half a second and/or moving one direction before using special action is better when the enemy is right ontop of you.

Basic Attacks
Ground Melee
A 3 part melee consisting of a right and left hook covered in mini explosions ending with a knee. The aoe is strong in cases where you wanna cover the enemies wake-up options, however, being slow makes it easily punished when missed. Landing the first two hits allows you to combo it with other Quirk Skills (gamma or beta if you just want them off you), however on GP this isn't a true combo making it a little risky.

Air Melee
A quick kick that staggers enemies on GP and launches enemies upwards on HP. By itself it isn't anything special, however it combos into ground melee and more importantly gamma. When used in the middle of special action it can increase the travel distance as stated in the special action description. However, You can also use this to special action into someone from a distance, air melee, and then gamma them for some quick burst damage. Air melee has decent tracking and when paired with special actions momentum can easily launch or cause you turn at a sharp angle. Helpful when used offensively, but can be costly if you intended to run.


Leveling Paths
This level up path allows you to get the main benefits from beta and gamma since they benfit from hitting levels 4 and 9 more while still getting alpha high enough for the damage and ammo count. Beta before alpha because of the fact only having two betas with the smaller aoe makes it really weak. Gamma after alpha because while it is a heavy damage dealer, alpha is gonna get used a lot more.


Techs
Special action canceled into air melee for this you are gonna want to try to time the air melee as close to the end of special action for maximum distance gain. However air meleeing early makes you go faster but you get less heigh and distance. This tech allows for way more air control after the air melee animation. Perfect for escaping, closing distances or allowing you to use your quirks with ease. Dash jumping then using special action as the jump starts adds a bit of distance as well.

Landing a beta hit and to a lesser extent alpha then using special action will cause bakugo to fly to the enemy hit no matter where you are looking. This can be helpful to land air melee into gamma off of special action however it can be detrimental when you throw a beta to try and get the enemy off you then fly away as you'll fly into them rather then away.

Aiming down with gamma after the mini hits land can make it more consistent and drop less.

Combos
The different ways you can combine and chain various skills for higher damage within 500 DP (Downpower). The downpower of Katsuki Bakugo's abilities are as follows:
Alpha Skill: 50 DP
Beta Skill: 350 DP
Gamma Skill: 10 DP (Small Hits), 500 DP (Final Explosion)
Ground Melee: 25 x 3 DP (Melee 1), 25 x 3 DP (Melee 2), 250 DP (Melee 3)
Air Melee: 250 DP
The text of the combos below will be colored by how true they are, in this case, we will define as "True" combos that, without 3rd party or tuning interference, can only be escaped/interrupted by Overhaul and/or Mirio, as those are special cases.
White Text means that part of the combo is True on both GP and HP.
Green Text means that part of the combo is True if the target is on HP only or the hit Guardbreaks.
Blue Text means that part of the combo is True if the target is on GP only.
Red Text means that part of the combo is Untrue, and therefore the enemy can escape it.
The DMG of the following combos at max level and accounting for the character's Strike role is classified under the following tags:
Basic DMG (100-149 DMG), Basic+ DMG (150-199)
Light DMG (200-249 DMG), Light+ DMG (250-299)
Medium DMG (300-349 DMG), Medium+ DMG (350-399)
High DMG (400-449 DMG), High+ DMG (450-499)
Heavy DMG (500-549 DMG), Heavy+ DMG (550-599)
Deadly DMG (600-649 DMG), Deadly+ DMG (650-699)
Air Melee 🡪 Gamma
Works on GP and HP alike making it a solid option for surprise burst damage or punishing up close enemies, especially if they make a mistake. Does 280 to 335 damage depending on how many gamma mini hits land.


Air Melee 🡪 Alpha
An alternative to Air melee into gamma that is way faster and less commitment. While it is true on gp it is not recommended as the enemy will be able to move. However on hp because of the knock back they won't be able to do so. Does 138 damage.


Air Melee 🡪 Melee 1 🡪 Melee 2 🡪 Melee 3
An option that is true on GP and HP that you'd mainly use to hold an enemy in place to buy time for your team to either get to you or to beam the enemy while your stunning them. Does 186 damage.


Disclaimer: These next combos are untrue and more so a way you can suprise enemies with a flurry of attacks and lead them into more damage by having them panic roll. These are usually used in conjunction with special action for height but can be used without.
Beta into alpha is a common opener to fights and a solid way to interrupt people healing the second beta is to knockdown before they realize what it going on or interrupt a rez. Does 258 damage with all parts landing. Alternatively you can do beta 🡪 alpha x3 or beta 🡪 alpha x2 🡪 beta though more aim reliant and even less likely to land fully unless you suprise attack someone.

Usually what happens with this combo is you'll land the beta, maybe hit the alpha, the enemy rolls, and you can catch it with gamma. In total 348-443 damage if all parts land. This is really useful as it allows you to single out an enemy and force them to retreat or play more evasive.


Perfect for stalling enemies and dishing out great damage. While untrue it is more likely to land then you would think. Total damge 324 to 419 (alternative damage 243 if you replace Gamma with Melee 1).


Recommended Normal & Special Tunes
Normal Tunes
Strike Slots: Alpha/Beta damage focusing on your preference 🡪 Special Action reload if possible and doesn't take up space.
Assault Slots: Alpha defense 🡪 Beta defense 🡪 HP Defense
Rapid Slots: Reload speed for Alpha/Beta if possible 🡪 Personal preference as the others do very little
Support Slots: Gamma attack power 🡪 Max HP 🡪 Max GP
Technical Slots: Special Attack reload 🡪 Alpha damage/reload 🡪 Alpha/Beta reload based off preference
Special Tunes
| The list of recommended special tunes (not ordered): |
|
|
 |
Special Attack Reload Boost
Good for if you get kills often, gives you 15 seconds of higher reload speed on Special Action at level 10, 20 at level 11. lets you stay on the offensive if you're still healthy or run away if you're kind of low after a down. Pairs very well with GP Sucker. |
 |
GP Sucker
Good tuning for if you're aggressive, lets you get a down then recover 80 GP at level 10 and 95 GP at level 11. Pairs very well with Special Action Reload Boost. |
 |
HP Sucker
Good tuning for if you're aggressive but is fighting with Special Action Reload Boost for a slot. Pairs well with GP Sucker. |
 |
Card Duplication
If you get kills often you get rewarded with more scaling that you can either use to scale faster or share with your team. Pairs well with Extra Wind, Ability Manifest if you use cards often, or a tuning that helps your mobility like Special Action Reload Boost, Space Hop, or Wall Runner for example. Can also be nice with GP Sucker/HP Sucker since you have more health to grab the cards with. Downside is your opponents can swipe the cards. |
 |
Wall Runner
Good mobility tuning, lets you save Special Actions for scaling walls. Also lets you use Beta 🡪 Alpha mash or just jump at someone with Howitzer for a mix up. Great for escaping, looping buildings with sideways jumps can lose opponents sometimes since rarely do people expect you to loop a building. Also good for running without looping a building since you can jump from building to building while being hard to hit. |
 |
Space Hop
Gets you more height with Special Action, also lets you use it as a wake up option reliably since it's harder to stagger Bakugo during a high up neutral jump. Invalidates melee character for the most part. |
 |
Acceleration
Flinging yourself at a target with Special Action 🡪 Air Melee lets you proc this and most melee tunings as well. |
 |
Quirk Factor Release
Get a guard break and your cooldowns are cut in half for the next 10 seconds. Has a 20 second cooldown at level 10 and a 15 second cooldown at level 11. |
 |
Revenge Strike
If you get guard broken you get a free Strike card. The extra damage can either discourage the opponent thirsting you or let you kill them before they can kill you since with the correct builds you can easily do over 100 with both alpha and beta while this is active. |
 |
Fixer
If you have a good skin for this it can drastically increase your damage output. |
 |
Ability Manifest
If you like to use cards a lot this is nice since you don't need to invest as many levels into them to get as much of a benefit. Pairs well with Card Duplication or Revenge tunings since cards stack with those. |
 |
Critical Permeation
Lets you get invincibility on Guard Break for 6.5 seconds at level 10 and 7 seconds at level 11. Both of these are enough time to pop a Big Shield if you weren't put in knockdown. High-Speed Replenishment lets you guarantee that you can pop a big shield every time. Also pairs well with Revenge Technical since you can get all your cooldowns back by the time it ends but High-Speed Replenishment is better. |
 |
High-Speed Replenishment
Lets you use shield items faster. This also affects team shields as well. Pairs well with Critical Permeation. Brings the time it takes to use a mini shield down from 3 seconds to 2.1 seconds, a big shield down from 6 seconds to 4.2 seconds and a team shield down from 8 seconds to 5.6 seconds. |
 |
Symbol of Peace
Lets you start the game with 56% plus ultra charge at level 10, 60% at level 11. If you have a teammate die early you get Plus Ultra immediately or just get it faster passively. |
 |
Extra Wind
Allows you to get 9% Plus Ultra meter every 20 seconds at level 10 and every 15 seconds at level 11 each level up. |
Recommended Builds and Costumes
Hero Costume Camouflage ver. (Fancy)
A really good costume to use Fixer on that sacrifices one damage slot on the Fixer column for a Strike (Hero) Special Slot. Has a nice mix of defensive and damage slots with the ability to run Kota Finder at level 11 which with Armored All Might’s speed should not be an issue to obtain.
Hero Costume Camouflage ver. (Heat)
His best Embrittlement/Quirk Factor Release costume that has a lot of good damage slots.
Hero Costume Camouflage ver. (Dangerous)
His best Acceleration costume letting him slot it on the right column for 20 seconds shaved off its cooldown. Has a good mix of damage, reload, and defensive slots making it the perfect all-rounder outfit for combo enthusiasts.
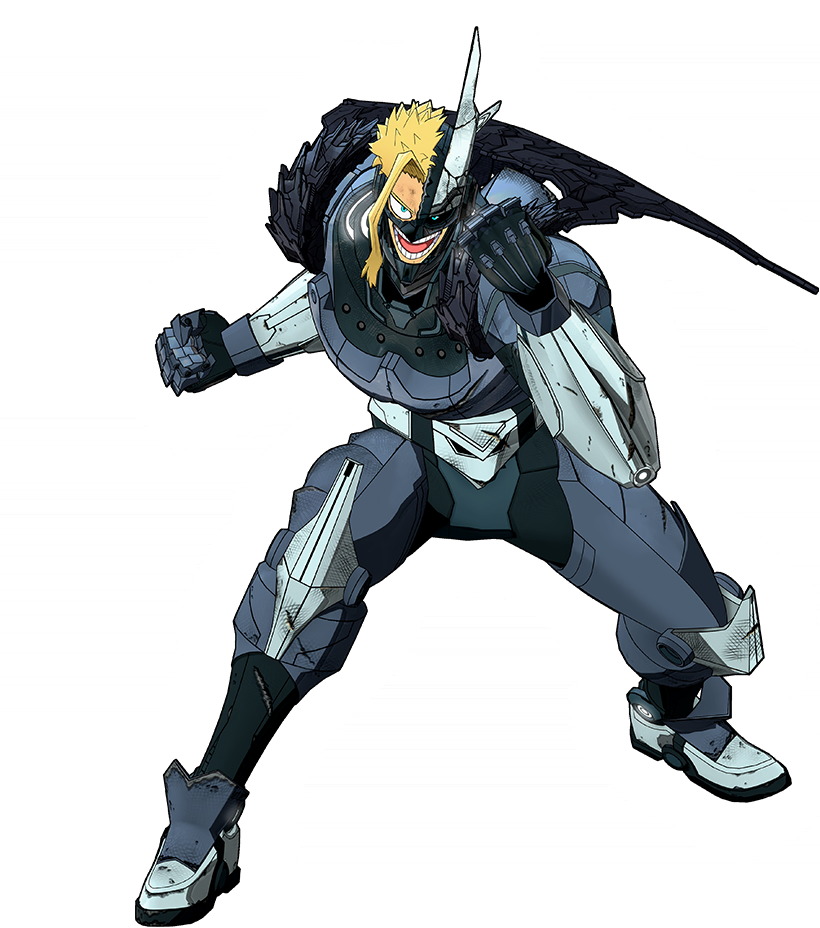
Hero Costume Damaged ver. (Villain Style)
A very flexible costume that has a lot of good Special Tuning combinations and has a healthy amount of damage and reload slots.
Hero Costume Damaged ver. (Combat)
A defensive costume with a lot of Assault and Support slots. If you don’t like running Acceleration at level 10, Card Duplication is another good choice as Armored All Might has no issues fighting early into a match. Also allows for Kota Finder level 11 which enables even faster Kota acquisition.
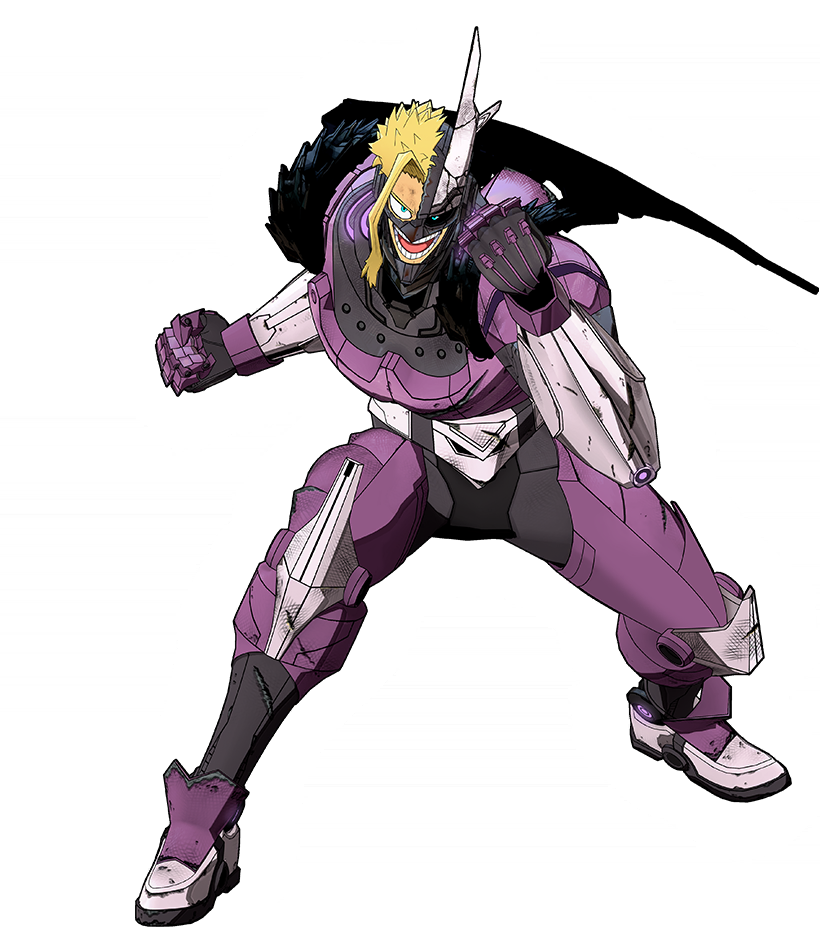
Hero Costume Damaged ver. (Fancy)
An alternative Embrittlement/Quirk Factor Release outfit that also has a lot of good damage slots and can run Card Duplication instead of Strike Special Tunings.
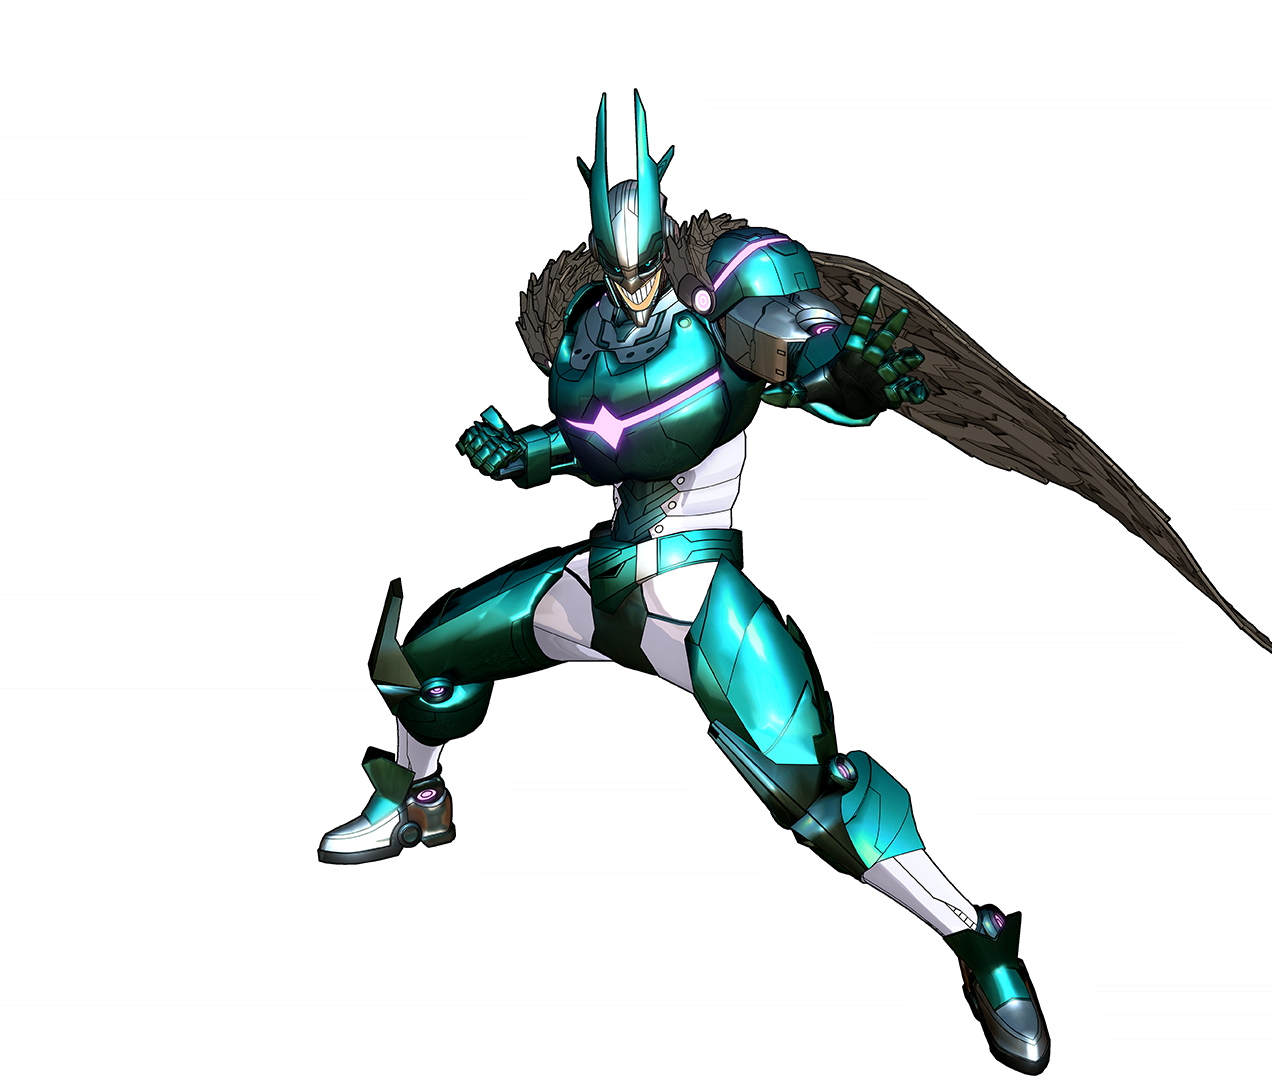
Hero Costume Metallic ver. (Emerald Metal)
A more defensive Fixer costume that gains a damage slot on the Fixer column compared to Hero Costume Camouflage ver. (Fancy) but has a Hero Support Special Tuning on the right column instead. Revenge Support can be good to survive longer in fights and Divine Protection can be used to zoom towards Item Boxes (Large) that drop periodically during a match.
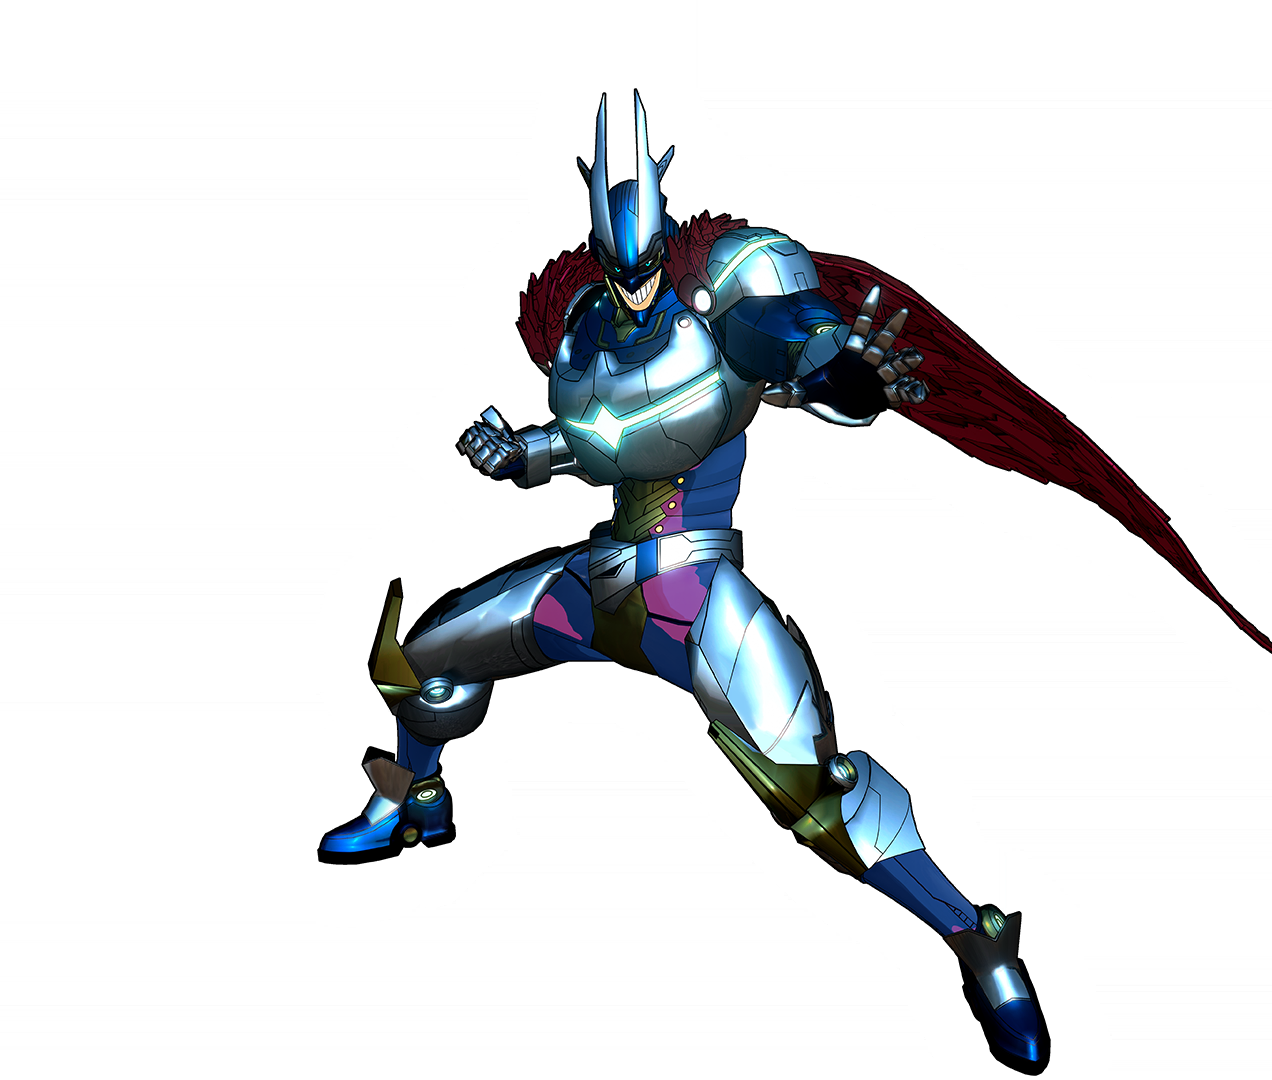
Hero Costume Metallic ver. (Sapphire Chrome)
A more defensive Embrittlement/Quirk Factor Release costume compared to Hero Costume Camouflage ver. (Heat) with a lot more Support slots. Can also run Kota Finder at level 11 if you don’t have Hero Costume Camouflage ver. (Fancy) or Hero Costume Damaged ver. (Combat).
Hero Costume Metallic ver. (Opal Gold)
Inferior to Hero Costume Camouflage ver. (Dangerous) if you are a combo enthusiast due to Acceleration being on the left column, so its cooldown is 20 seconds longer. Another good all-rounder costume though with a good mix of damage, reload, and defensive slots.
Hero Costume
A decent budget build option that can run Special Attack Reload Boost/Revenge Technical/Critical Permeation/HP Sucker and Full Burn/Symbol of Peace, but do keep in mind that the effectiveness of all of these will be reduced due to the low max level of Special Tuning Slots on non-PUR outfits. Out of all the Technical options Special Attack Reload Boost would be preferred due to still providing decent value even at lower levels.

Izuku Midoriya (Default) 
Difficulty Score: 🟢Favorable🟢
Assualt Deku has the range advantage and a bit on base alpha damage however you have him beat at close range and pure damage. Baiting them to get close with the use of cover or pushing twoards them with your special are options you should use. Even though you have Deku beat in close range fights watch out for his hyper armor beta trading with your beta or your gamma start-up and especially be careful of his black whip. As if you mess up by using gamma from too far or out right miss and allow Deku to land black whip (or a melee into black whip on health) the fight could switch from winning to losing.
Izuku Midoriya (Full Bullet) 
Difficulty Score: 🟡Even🟡
Strike deku can easily trade with alpha and win against your alpha. However your beta is hard for him to disrespect and just ignore as when mixed with alpha it can shred in the mid-range far faster if they commit to an alpha shot. Not to mention having an explosion block your vision makes it hard to fire. However he can gamma up in the air and be really hard to hit. Strike deku Beta isn't much of an issue if you make sure to trade with gamma since beta doesn't have hyper armor. Also avoid getting caught to close to prevent his combo potential. On wake-up most will try to gamma on you or away to make distance. However a well placed gamma blast can either interrupt it entirely or trade in your favor. Though be ready for better players to mix up their wake-up timing.
Izuku Midoriya OFA 
Difficulty Score: 🟡Even🟡
Rapid deku while he has hyper armor on melee and is generally fast your aoe and knockdown should be able to shut him down. So long as he doesn't catch you by suprise. Since they are either overly aggressive or trying to retreat in a hurry after being knocked down gamma catches can easily sweep them as all there moves have some form of startup. Be careful though as missing a gamma catch can allow for them access to their melee combos or overdrive reset. Speaking of gamma it is easy to dodge on the ground. The second you hear a voiceline for his gamma roll. If done right it leaves rapid deku open for a free punish. In the air it is semi impossible to avoid so staying grounded is preferable while flying up should only be done when deku is knocked back or in knock down
Katsuki Bakugo (Default) 
Difficulty Score: 🟡Even🟡
Being a mirror match this should go to the person with the advantage or more skill. However this match-up can be very violent in terms of how 1 can be winning and suddenly lose because of wake-up catches with gamma and/or beta-alpha combos. Use i-frames accordingly and you should avoid that issue. However gamma can still be an issue if you make a mistake. So be ready for it.
Katsugi Bakugo (Machine Gun) 
Difficulty Score: 🔴Unfavorable🔴
Rapid bakugo is much more mobile making it hard to hit let alone chase. Being consistently mid-air and wanting to be directly above you hitting alphas or betas tends to be a challenge. Gammas mid-air tracking can make it possible to land though it cab be risky and a big of a challenge. For this match-up dodging rapid Bakugos betas is a priority as it can stun into his gamma or alpha to deal solid damage. Your best bet is to try and catch him with as much damage once he is on cooldown and hopefully land some wake-up catches. If you are feeling risky and the rapid Bakugo is predictable you can try to gamma their gamma since rapid bakugo gamma takes a bit to fall to the ground. While strikes can stun or just land the large explosion before that happens if you are fast enough. You could also use melees aoe to catch rapid bakugo gamma however this is similar risk to gamma if you miss but easier to do.
Ochaco Uraraka (Default) 
Difficulty Score: 🟡Even🟡
Ochaco able to stay at range and do some solid damage with combos or fast damage with beta into alpha. She is mostly airborne making her difficult to hit with alpha and especially beta compared to others. Throw your beta at objects near where she is hovering or where she tries to air recover if you knock her back. Her gamma is decently fast however leaves her stuck in the air allowing for your gamma punish if your close enough mid-air. However getting caught in gamma will hurt so be careful when taking risks.
Ochaco Uraraka (Zero Satellites) 
Difficulty Score: 🟢Favorable🟢
Her alpha is slow and easy to dodge ontop of leaving her in place for free alpha damage. Beta is also easy to dodge at the mid-range and gamma is decently easy if you dodge at the right time or out of the aoe also it is easy to just move out the way at farther distances allowing you to throw betas to punish.
Tenya Iida 
Difficulty Score: 🟢🟢Very Favorable🟢🟢
Tenya is a very close combat melee focused rapid he is also easy to dodge thanks to his moves being easily dodge rolled. All of his moves can be shut down with two betas or a well placed gamma thanks to their respective knockdown vaules. Even in recipro Tenya isn't too bad to fight as in the worst cases you can throw betas at your feet to trade and considering you have more hp then tenya and usually deal more damage it can make this fight easy. One clean wake-up catch on Tenyas beta or alpha and he is unlikely to be much of a threat.
Shoto Todoroki (Default) 
Difficulty Score: 🟡Even🟡
This match-up is pretty volatile. You both can dish out solid damage at range and high burst damage if either side makes a mistake. Bakugo with his gamma and strike shoto with his beta and combos with his gamma. For this one your gonna want to keep enough distance to keep pressure but far enough where shoto beta isn't an issue. Keep in mind your piercing goes through his beta and you can get an areial advantage with special action, making his wall flimsy. Trying to catch his wake-up with gamma is bad idea as his beta is so fast that you can rarely if ever interrupt it causing a decent trade if gamma ending explosion lands or a bad trade if gamma is held. Play it carefully and don't panic or you may roll into strike shotos gamma, leaving you in a bad spot.
Shoto Todoroki (Ice Fang Wind Flame) 
Difficulty Score: 🟢Favorable🟢
Unlike his strike counterpart he doesn't have combos that can shred you. Instead he has lots of aoe. His alpha and beta is rollable and should be easy to dodge or juke mid-air allowing you to punish with your moves. Gamma is a solid choice on wake-up up as even if you trade with alpha its in your favor and unlike the strike, tech shotos beta is slow on wake-up. Be careful of gamma as that can shut down your ranged options and will easily knock you down in half a second. Play carefully and poke damage while Tech shotos vunerable. Take risks with gamma when you feel you can and worth the risk.
Tsuyu Asui 
Difficulty Score: 🟢Favorable🟢
Tsu is fairly easy to punish with well good aim. Her alpha makes her quite linear in approach and retreat. Her beta is easy to dodge and when dodged is even easier to punish throw a few betas or if your feeling lucky gamma them. Use wake-up catching effectively and it should be pretty easy.
Eijiro Kirishima (Default) 
Difficulty Score: 🟢🟢Very Favorable🟢🟢
Kiri is very good upclose but you can shut down any advance with your beta or gamma. You also have special action to keep them at a distance. Even if he gets up close or you have to approach you can use I-frames after almost every hit to put yourself in a postion to back away or punish.
Eijiro Kirishima (Red Drive) 
Difficulty Score: 🟡Even🟡
This fight is a tough one as Strike Kiri has a lot of strengths. Kiri hits hard with his combos, he has a decnet amount of aoe, and he is hard to catch. However bakugo has some advantages his beta can easily be thrown past Kiris shield for damage when above Kiri. While it can be done on level ground it tends to be harder. Alpha and beta are gonna be your main damage. Gamma is too risky in most cases and even as a wake-up catch as one miss can lead your hp being shreded. Kiri special makes it hard to get meaningful damage in while he is still able to combo for easy burst damage. Try to keep him at a distance with beta till special runs out or overwhelm him with damage if he is low. Just be careful to not let him pin you down or catch your wake-up
Momo Yaoyorozu 
Difficulty Score: 🟢Favorable🟢
In most cases Momo is easy to deal with as she can't apply pressure while your airborne or at a distance. You can easily maintain distance by knocking her around with 2 betas or gamma. Beta can be thrown past her to hit her back while she uses beta and if she places it you can just shoot through it with alpha or again throw beta past it. If she uses beta offensively you can hit her back with gamma fairly easily by getting above her or dodging till her beta ends. Her biggest strength is close quarters either her alpha stun and gamma damage so be careful following her when she goes around corners or in buildings.
Fumikage Tokoyami 
Difficulty Score: 🟡Even🟡
As strike bakugo you can keep distance with special fairly well and close distances. However Tokoyami can do the same. Your biggest strengths are gonna be landing betas behind Tokoyami's shield and breaking it with a few alpha hits as it doesn't have much life. Once you do that you can try more aggressive approaches with beta or gamma. If they decide to glide mid-air to heal you can just get on top of them with your special and gamma them out the air. Catching Tokoyami's wake-up is hard as his beta stuns and fires fast unless their beta is on cd refrain from gamma catching. Keep moderate while they are in their black Ankh stance as their melee game becomes really oppressive.
Denki Kaminari (Default) 
Difficulty Score: 🟢Favorable🟢
While he is a deadly adversary because of his stun so long as you keep slight distance and take advantage of betas strengths you should be good. Getting hit by 1 gamma is a borderline deadly however it is easy to roll so long as you arent hit by the start-up stun. His alpha also hits hard but beware of the connections it makes as two hit will stun you and they are really easy to ignore. Gamma catching is risky however can be worth it.
Denki Kaminari (Lightning) 
Difficulty Score: 🟡Even🟡
For the most part you can close distance on Tech Denki however his beta makes for a pretty easy stun and damage if you get to close. His beta can be destroyed by your beta fairly easily. The big issue is ignoring tech denki while he is camping a vantage point as his auto tracking alpha can rack up damage from afar.
Neito Monoma 
Difficulty Score: 🟣Unknown🟣
Usually never in base kit. Even if he isn't he has his alpha for peppering and gamma to tank any form of damage while stealing a decently deadly move from you. Avoid getting hit by his beta mid-air or while on gp as it can chain into itself. If he tries to steal your quirks and use them against you its even however its more likely its a mixture of other characters which can range for easy to impossible if your unlucky.
Itsuka Kendo (Default) 
Difficulty Score: 🟢Favorable🟢
Unlikely she will be able to close distance if you maintain distance with special. Your best bet for consistent damage is timing alpha and beta with her dropping her sheild. Your beta should allow you to constantly make attempts around the shield on lower levels or at least pressure it if at higher levels. Using gamma is a bad play unless you can time it with when she drops shield or a clean wake-up catch both being risky. With that said don't underestimate her alpha or gamma damage a few hits will leave you close to death. Play cautiously and from afar and it shouldn't be that bad.
Itsuka Kendo (Twin Palm Strike) 
Difficulty Score: 🟡Even🟡
Unlike her strike counterpart her alpha is more consistent and she has mobility to keep on you. Still susceptible to heavy damage when her beta is down however when she has it up you'll be doing very little chip damage to her no matter the quirk. Best bet is once again keeping distance and just trying to land free alphas and beta hits while she is using beta. Be careful of the lunge distance and the fact it can be canceled into gamma as that can easily lead into a quick high damage combo if your not prepared to roll or have distance to get out with special.
Ibara Shiozaki 
Difficulty Score: 🟢🟢Very Favorable🟢🟢
She is very easy to deal with out in the open as she has little to no counter against your special other then landing her aimed alpha. However if she misses thats a free alpha and beta punish and if you close enough possiblly a gamma punish. Watch for her beta and beware her gamma when in close quarters as they both have hyper armor to counter your approach or gamma attmepts especially since she has life steal. However, you can sometimes just let gamma ending explosion go early and the instant knockdown will clash with the hyper armor. A risky option that only should be used if you know you can kill her outright or are confident in your skills.
Mirio Togata (Default) 
Difficulty Score: 🟢Favorable🟢
Rapid Mirio is only a problem in team fights as he can punish your rolls. If you make sure to roll correctly and do not panic roll you should be able to just avoid all his damage options. He has pretty solid combo options if he lands his tap alpha especially mid-air. His beta is easily punished on dodge and especially on a whiff. That makes it your best time to deal any significant damage to him. Catching him in one gamma or beta alpha beta string will end up with him being at half health. In most cases mirios will run your best bet is a wake-up up catch on mirios alpha be careful about the timing to ensure it lands as missing will mean being attacked later when he comes back.
Mirio Togata (Sheer Counter) 
Difficulty Score: 🔴Unfavorable🔴
You have a lot of aoe on beta and gamma allowing for tech mirio to easily counter them with his gamma. Your best bet with this guy is attacking in bursts then laying off to bait out the counter. For example throw a beta and shoot an alpha then shoot another alpha but miss purposely (or simply just approach) if they use their counter use gamma at the proper timing for a easy punish. (Watch out for support hados gamma visual effects as if tech mirio has it the counter lasts slightly longer) This can shred them easily and cause them to panic letting you easily bait another counter or just deal more damage. While the fight sounds in your favor keep in mind tech mirio is constantly moving and has invincibility to some degree on every move he uses. There is also the fact that you have to respect the counter to some degree even if they end up not using it at all.
Tamaki Amajiki 
Difficulty Score: 🟡Even🟡
1 on 1 he has solid combos leading to 2 interaction kills if he lands his aimed alpha into x combos. His beta is hard to dodge as the timing has to be just right since its a 360 degree aoe tracking attack. A smart Tamaki will not use gamma 1 on 1 but will 3rd party with it. Your best bet besides alpha is landing beta to force pressure and knockdown during his beta or just as you get pulled to reduce damage (which is hard to due purposely on the fly but still something to be aware of) trying to catch Tamaki's wake-up with gamma isn't advised as most will try for a wake-up option into aimed alpha which will interrupt gamma. You could try to trade with proper timing but if Tamaki waits he gets a free punish.
Nejire Hado (Default) 
Difficulty Score: 🟡Even🟡
Hado is very airborne making beta hard to land her alpha is also heavy hitting however it is slow making it easy to dodge. Beta is impossible to dodge so take cover when she is about to use it. Gamma can be rolled tho it lingers making the timing difficult. Her special causes her to be animation locked so you can beam her if close. Your alpha and special into gamma is gonna be your main tools unless you can land beta directly or hit a nearby structure hado is hovering near. If you can get her into a indoors area to better take advantage of your betas.
Nejire Hado (Fairy) 
Difficulty Score: 🔴Unfavorable🔴
Similar to the tech variant in terms of being areial expect her alpha is bigger and faster making it impossible to dodge unless rolling or moving fast. Her beta is a gurranted hit and knockdown if the hado is smart and baits your roll or you mess up the timing and get caught in the lingering hitbox. Gamma is a free punish if you're fast enough however she can cancel the endlag into special or alpha furthermore if you don't break her over-health her alpha gets even bigger and her beta moves faster until her over-health is destroyed or breaks. Get her indoors to better take advantage of beta as the only way your hitting her is by hitting structures near where she is hovering or direct beta hits.
Hitoshi Shinso 
Difficulty Score: 🟢Favorable🟢?
Shinso is a fairly heavy hitter with his alpha chaining into itself or beta. His gamma is an aoe stun which in 1v1s can set up for a decent punish. However the big part is the slowness it applies allowing for easier wake-up catching and stopping escapes so when you get this effect applied you are gonna have to work hard to avoid damage and actually get a solid punish. So your best bet is to keep a mid/far ranges. While it sounds bad if you are careful to evade your beta and alpha can punish him easily on whiffed alphas. Gamma is risky and especially considering his gamma stuns you are only gonna wanna go for it if you are 100% it will land. Watch out for when shinso uses beta for mobility as once he is in the air his alpha pressure is a fair bit stronger.
All Might (Default) 
Difficulty Score: 🟢Favorable🟢
Assualt All Might most consitant damage tool is alpha it has a splash so even if he misses he will chip you if you are on the ground or near structures. Staying above him forces him to risk going for directs while you rain down damage. However his beta is a force to be reckoned with if you fail to roll it or the all might perdicts your roll. Because if he hits you it guarantees a direct alpha and can lead into more if you don't insta flip. Your best bet once you flip is to be careful on what choices you make if he has a second beta as he can catch your wake-up with it. His gamma is a none issue for the most part just keep distance if he charges you and close distance if he runs away once gamma ends the endlag allows for free punish with alpha and possibly beta with direct line of sight. Watch from above as his special puts him in a perfect spot to rain down alphas. Your gamma is a solid option to catch his wake-up especially since most of his moves have solid wind-up just be aware of the fact gamma bonks off all might gamma and that his beta hyper armor can tank the mini hits turning your offense against you.
All Might (Gatling) 
Difficulty Score: 🟢Favorable🟢
Rapid All Might can be dealt with fairly easy as his alpha leaves him fairly slow. While it reduces damage it also reduces the knockdown he receives allowing you to throw more than 3 beta and even land 2 gamma before he gets i-frames making punishing this quirk easy and still pretty rewarding. His beta has 2 versions a projectile and a charge. The projectile can combo into itself and even combo into gamma or the charge variant at closer ranges making it fairly versatile and strong. However this quirk can be punished on whiff for both versions as the leave rapid Might slightly open just enough to get an alpha off then roll if need be. His gamma is a short range tracking attack that on roll can be punished as well. However mess up the timing and your eating a load of damage. Being above him is a good postion for raining down damage however he can stay above you better plus grab you out the air easily since you can't dodge it mid-air. If he is above you dodging until he falls to the ground is generally the play. However most will try to land on you for a cheeky gamma or even beta to catch your roll.
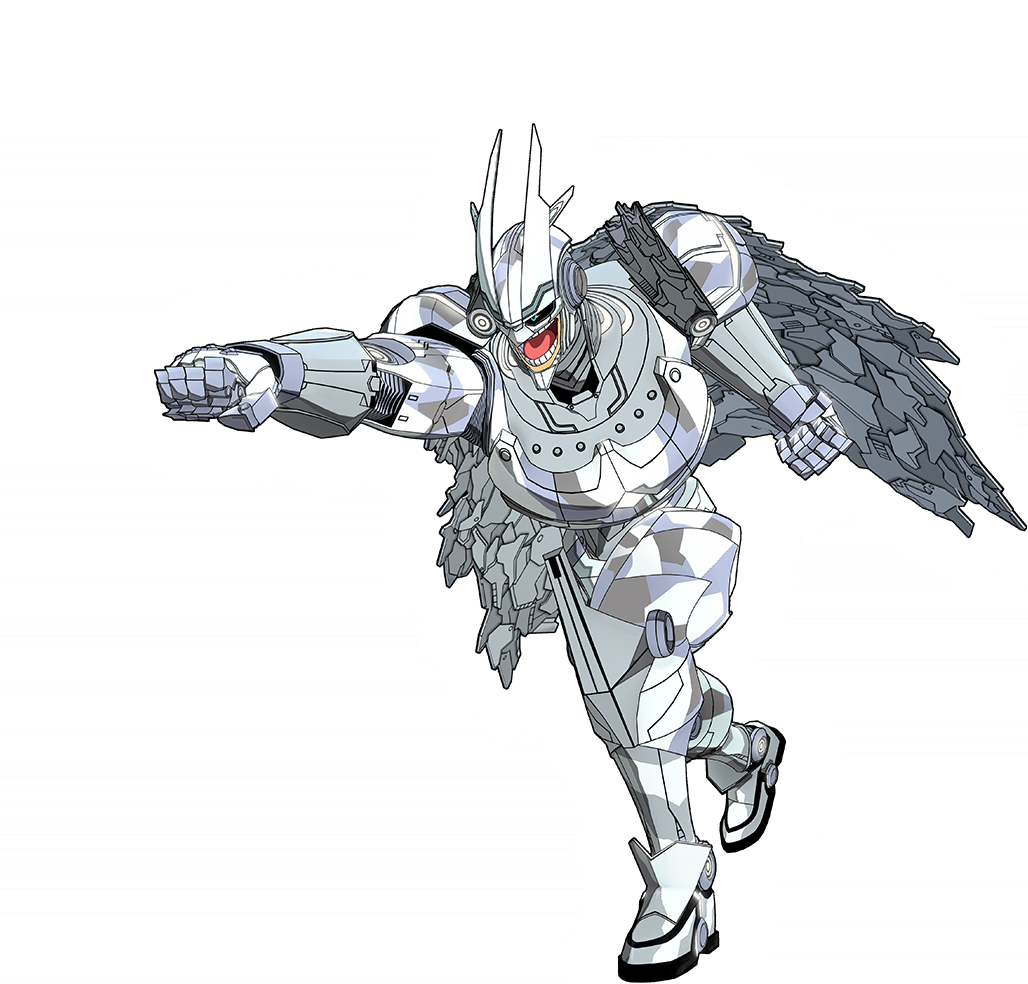
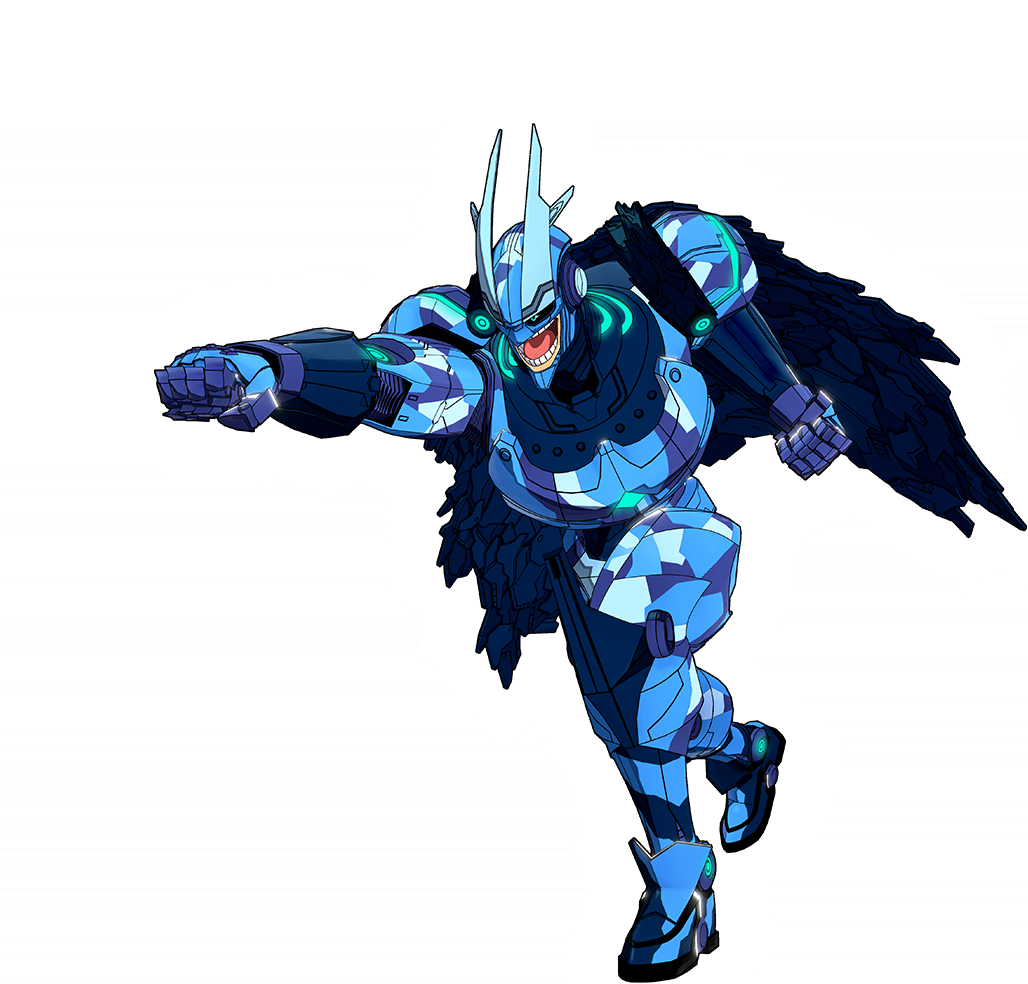
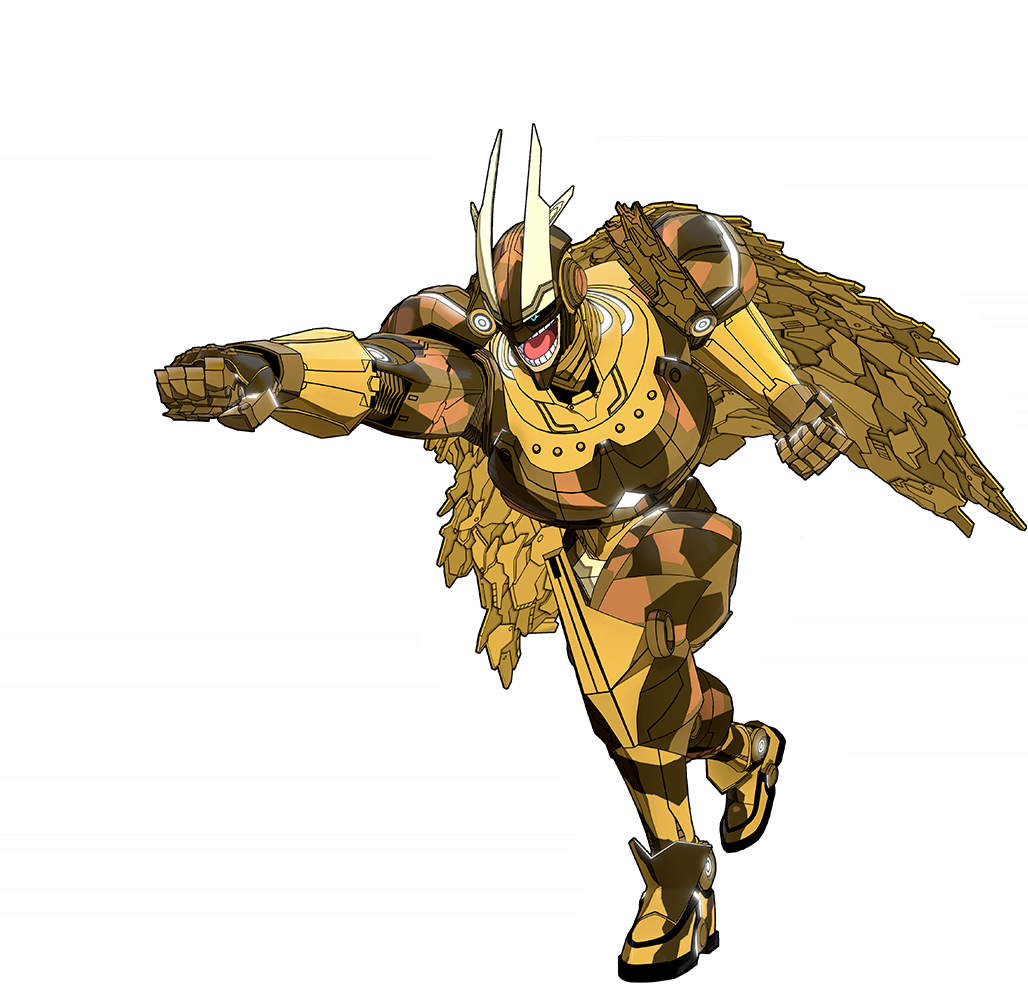
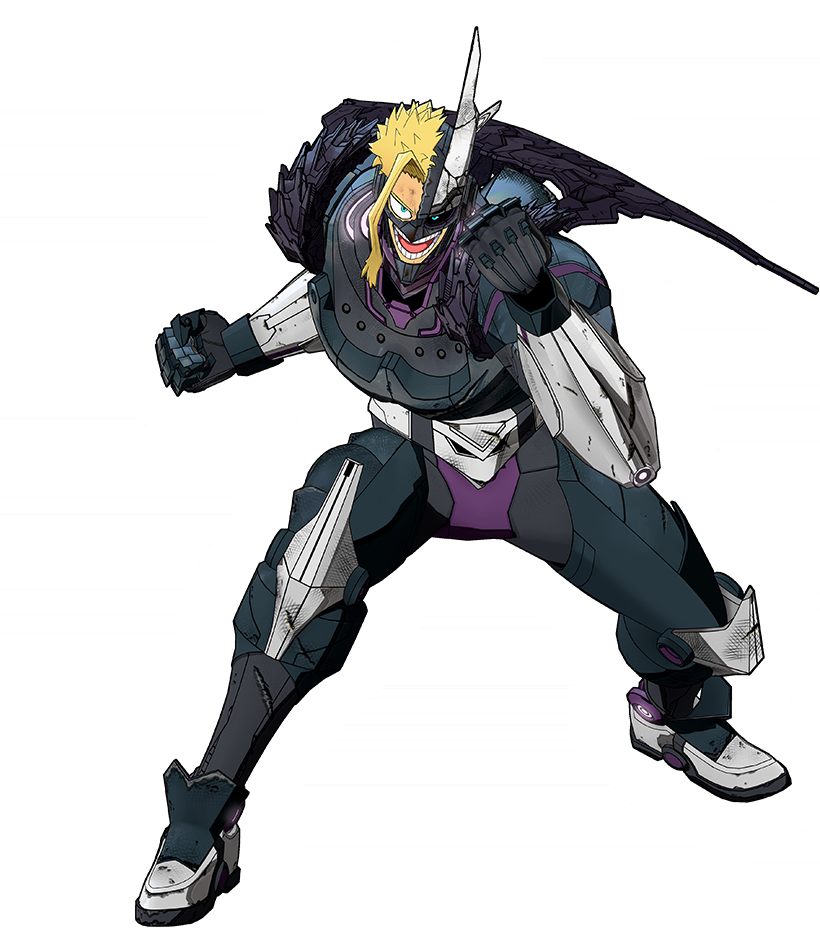
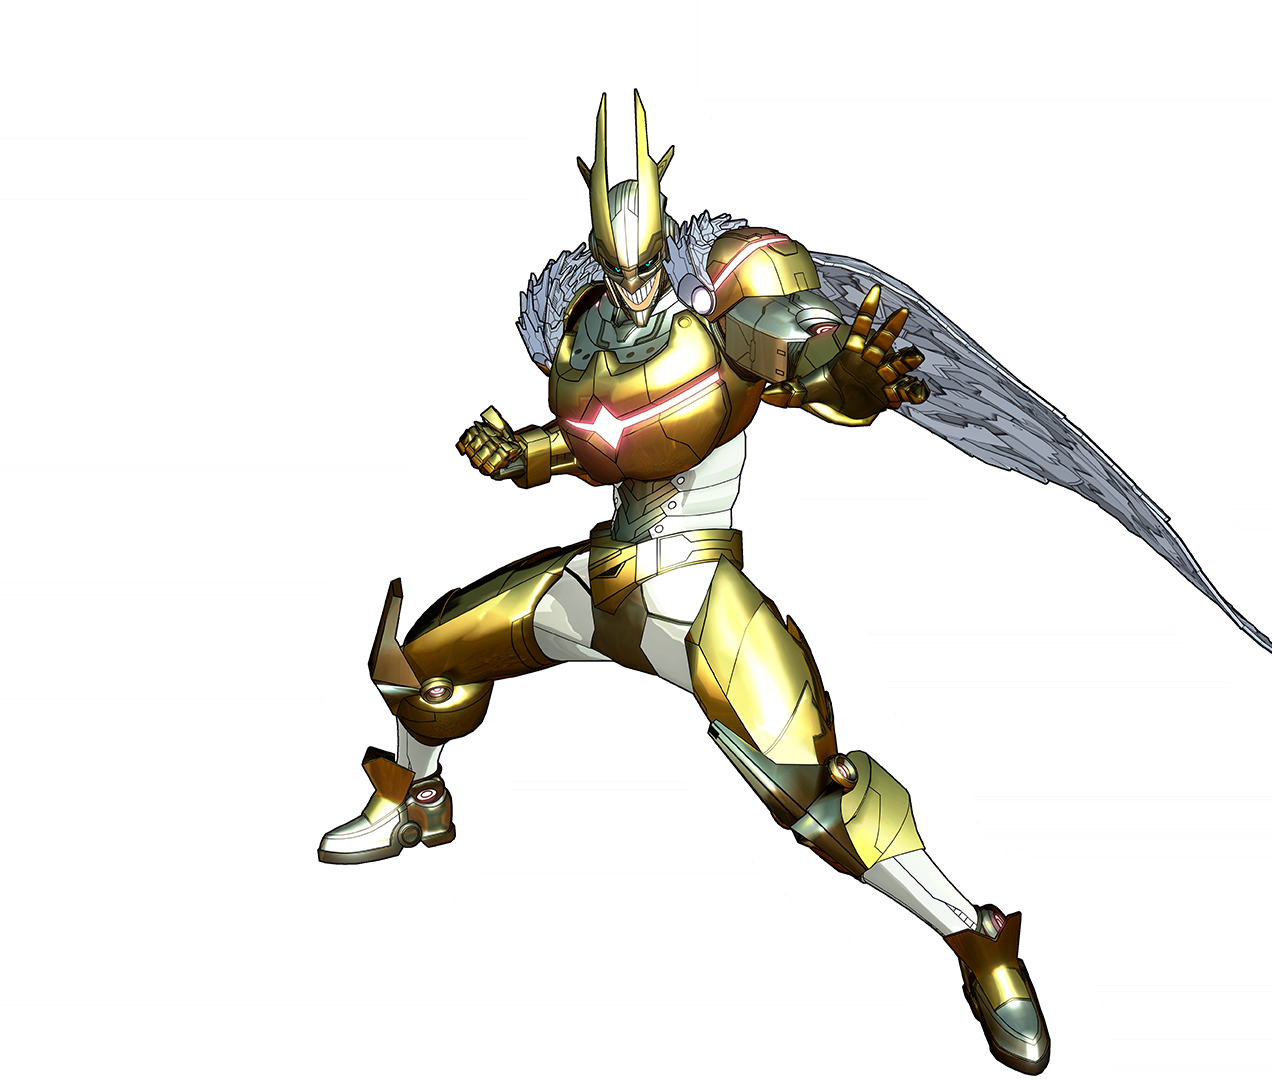
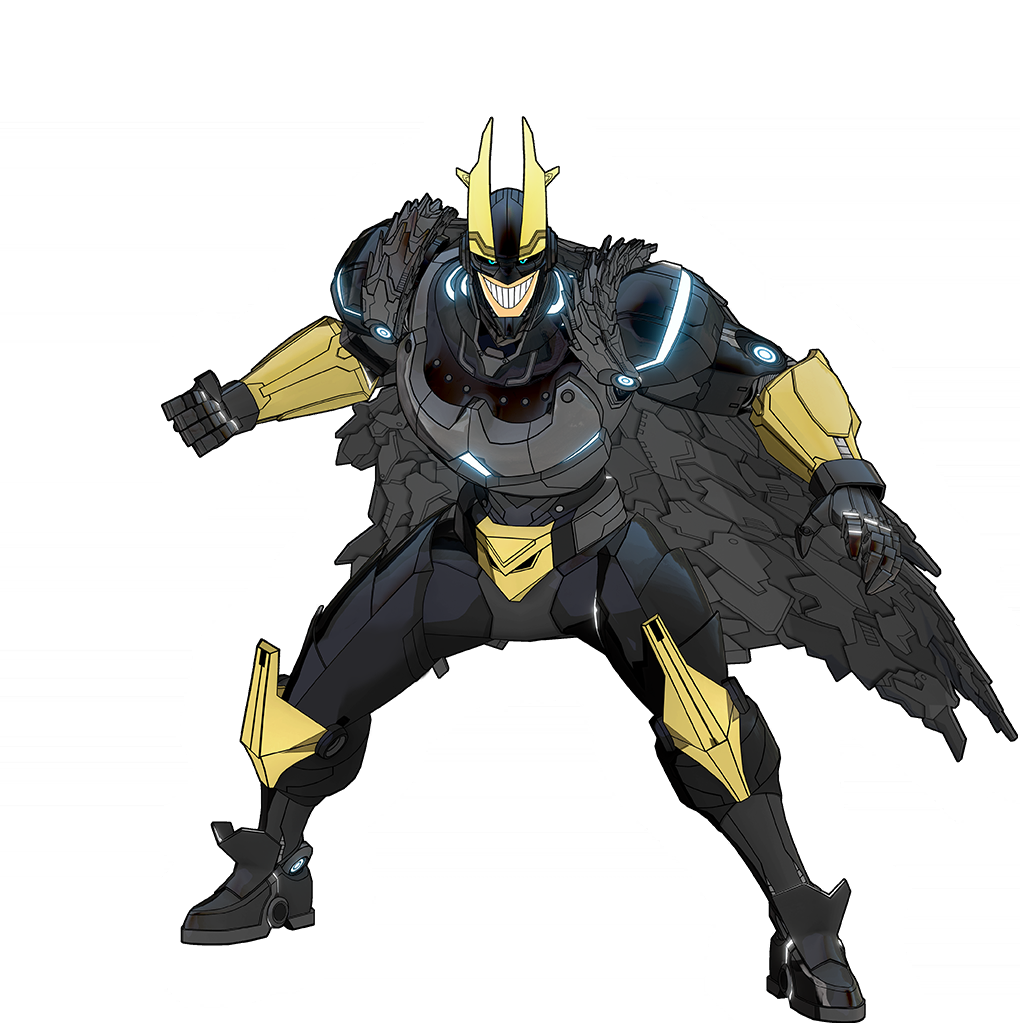
Armored All Might 
Difficulty Score: 🔴Unfavorable🔴
Armored All Might is a strong all rounder he has solid mobility, can stay airborne, has hard hitting combos, a on demand tracking stun that can be used as a combo starter and/or breaker or even as a way to cover up his own endlag, and he has a pesuedo bind with his beta. Generally you wanna try and pick him off by attacking him from the sidelines of a group fight. 1v1 is in his favor if the the armored might knows what they are doing. Even if you get him low he can fly upwards without wasting I-frames on wake-up then dash away. So you got to make sure once you get him to mid/low health you end the fight swiftly or are able to hit a shot as they retreat. Now how you get him low is tricky as both beta and gamma are risky. Beta because unlikely to hit unless you hit directs or nearby structures. Your raw gamma can be countered by armored might gamma at range since it can stun you and lead to a 200 to almost 250 dmg punish with his alpha combo. Wake-up catching is nigh impossible with gamma as previously stated he can just go up with his special while maintaining i-frames. You are only likely to catch his wake-up if they are overconfident, bad, or make a mistake by activating a quirk namely gamma (specifically the summoning part as sending drones does not use up i-frames) before ascending. To restate your best option is to 3rd party him while he is occupied to throw him out the fight for a bit or best case down him.
Shota Aizawa 
Difficulty Score: 🔴🔴Very Unfavorable🔴🔴
This match-up is bad for a few reasons. Aizawa is constantly on the move and almost always have his quirks ready for combos or just raw damage. That alone is an issue however he also has erasure which shuts down all your tools expect special and melee which if you don't realize you've been erased fast enough you will be caught with an alpha. 1 hit will lead to at least 180 damage and almost up to a tod if they really know what they are doing. However in most cases you'll be hit with 400+ damage at worst. His alpha acts as mobility ontop of it being a bind that can stop any action. His beta is mainly used for mobility but can be used to start although niche but devastating combos if you react slow. His gamma is the one thing you must and I mean must avoid getting hit by raw as that can lead into his 400+ combo. Most will use gamma to catch wake-ups so using i-frames is imperative to surving let alone dealing good damage. Beta is your most consitant form of dps considering his alpha pulls him in a straight line fairly fast making alpha hits difficult especially when he is ontop of you. Gamma is risky at any distance other than when your right ontop of him as he can erase then alpha you out of it or just alpha you out of it. Same thing with catching his wake-up however if he uses i-frames he can get a gamma punish if your gamma whiffs. Like armored might focus him hard by 3rd partying or jumping him during his combos as 1v1 is way too much in his favor
Present Mic 
Difficulty Score: 🟢Favorable🟢
Present Mic does really well up close but his mid and far-range game is lacking. You can abuse this to send beta and alphas st a distance while keeping enough distance to avoid Mic's beta into gamma. While his alpha can hit hard it is only hard hitting when he has a boom box out which luckily most don't toss too far to insure the second projectile aligns with the first easier. So you can usually throw a beta and get both Mic and his boom box with 1 quirk. Even if you can't spending a beta to reduce his damage and force him to take a second to place it is usually worth it.
Cementoss 
Difficulty Score: 🔴Unfavorable🔴
Your piercing on alpha is the biggest you have especially since that is gonna be your main sorce of dps with beta adding here and there. Cementoss is constantly creating structures to pillar on or block line of sight. Making it hard to get meaningful damage for most but your ability yo get above him quickly and invalidate his protection makes this match-up better then most. However he can still throw his cement at you and bounce you around for major damage or stun you with gamma then combi into alpha for more damage. His beta is also major damage. Your best bet for 1v1 is to catch him at lower levels as once he is high level jumping or 3rd partying is the only easy way to get him out.
Endeavor (Default) 
Difficulty Score: 🟢🟢Very Favorable🟢🟢
Endeavor (Inferno Fist) 
Difficulty Score: 🟢🟢🟢Extremely Favorable🟢🟢🟢
Hawks (Default) 
Difficulty Score: 🟢🟢Very Favorable🟢🟢
Hawks (Slicing Wind) 
Difficulty Score: 🟡Even🟡
Mt Lady 
Difficulty Score: 🟢🟢🟢Extremely Favorable🟢🟢🟢
Tomura Shigaraki (Default) 
Difficulty Score: 🟢🟢🟢Extremely Favorable🟢🟢🟢
Tomura Shigaraki (Catastrophe) 
Difficulty Score: 🟢🟢Very Favorable🟢🟢
Tomura Shigaraki (Thousand-Hand Break) 
Difficulty Score: 🟢Favorable🟢
All For One (Default) 
Difficulty Score: 🟢🟢Very Favorable🟢🟢 / 🟣Unknown🟣
All For One -Youth age- 
Difficulty Score: 🟢Favorable🟢
Dabi (Default) 
Difficulty Score: 🟢🟢Very Favorable🟢🟢
Dabi (Crazy Torch) 
Difficulty Score: 🟢🟢🟢Extremely Favorable🟢🟢🟢
Himiko Toga (Default) 
Difficulty Score: 🟡Even🟡
Himiko Toga (Sting Dance) 
Difficulty Score: 🟢🟢Very Favorable🟢🟢
Twice 
Difficulty Score: 🟢🟢🟢Extremely Favorable🟢🟢🟢
Mr. Compress 
Difficulty Score: 🟡Even🟡
Overhaul (Default) 
Difficulty Score: 🟢🟢🟢Extremely Favorable🟢🟢🟢
Overhaul (Blighted Precipice) 
Coming Soon...
Kurogiri 
Difficulty Score: 🟢🟢Very Favorable🟢🟢
Lady Nagant 
Difficulty Score: 🔴Unfavorable🔴