


Undefeatable
While the Assault slot isn't that good, this build gets extremely high base damage on his abilities.

Last Update: August 23rd 2026
Izuku Midoriya (Full Bullet) is a more close range and powerful version of his base counterpart. His firepower is nearly unmatched, however, this high firepower comes with a trade off, mainly in the form of survability due to his lackluster mobility, HP, and laggy options. Overall Full Bullet Deku is among the strongest close range fighters in the game capable of wiping health bars very fast, but he himself is prone to having the same thing happen to him.
Full Bullet is capable of adapting to almost any scenario as buildings are great for mixups and walling people off while more open areas have utility in the form of strong AOE options and his somewhat unique access to cover in these open areas.


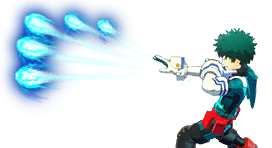
This is the focus of the Battle Style being far and away his best move due to its sheer overwhelming damage output up close and utility from afar. Lets start with unaimed alpha since this move has both an unaimed and aimed in version.
Unaimed Version When you don't aim in you will fire 5 pellets in a fan formation that will each do a low amount of damage, but when combined can reach among the highest in the game. This skill's main focus as a shotgun is actually not to be right in the opponents face, but rather have some distance between you and the opponent. Being in their face just gets you hit but its still rather reasonable to hit 4 to 5 of his pellets rather reliably even from near max range so try not to barrel stuff the opponent too hard.
This variant of the skill is extremely level dependent for 2 main reasons. The 1st reason is that every level increases each pellets damage by 1 meaning each level is effectively 5 extra damage per shot which is massive. The 2nd reason is because of the hitbox size as at lower levels the hitbox size per pellet can be small enough to make landing more than 2 pellets consistently quite difficult especially with some distance between you and the opponent. For this reason it's suggested to wait for at least level 4 alpha before you start regularly using this skill to take advantage of the hitbox effectively giving you more potency at range.
(add clip UAV)

Aimed Version By aiming in you condense these 5 pellets into 1. Doing so will lower your damage and increase your down power which often limits your ability to kill the target greatly. Your range, however, will greatly increase allowing you to fire back at targets who may be stalling in the air or simply are farther away than you'd like. The increased down power can also have utility baked in as the ability to inturupt attacks from a distance in just 2 shots is very powerful as it disrupts the enemy allowing you to close the distance or break combos they were doing on a teammate.

Aimed alpha tends to scale much less than unaimed only gaining a measly +2 damage on most levels. That said aimed alpha does surprisingly good damage at level one making it a perfectly good option to rely on in early game where unaimed alpha is less viable. Before alpha level 4 I suggest almost always using the aimed in version for its better consistency and often higher damage as a result.


(Add clip SDI)

Change your sensitivity. The game handles sensitivity weirdly with aiming in and unaimed sensitivity being 2 separate settings. Additionally, aimed sensitivity is often slower than unaimed even when the value is equal so change your sensitivity accordingly.
Utilize sensitivity manipulation. Against fast moving targets you will often find your sensitivity when aiming in to simply not be fast enough. A good work around for this issue is to often just stop aiming for a second until your crosshair lines up again allowing you to hit them. This can also be used to switch from target to target at long range more effectively
(add clip TS)

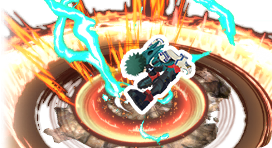
Full Bullet Deku's beta focuses largely on high damage AOE attacks and even higher single target damage. This skill when used properly can determine the outcome of entire engagements and sometimes the match itself. There's 2 different alterations here that function very differently as the AOE size and damage output is greatly determined by how high in the air you were when you used beta. The skill's endlag is quite long though being the main contributor to his low survability as if a target is looking at you during this animation, it's not uncommon to lose 400+ health.
Small AOE
This version occurs when you do not fall very much when using beta which usually means you used the skill grounded. The damage of this version is quite pitiful often doing less than a single alpha does unless you also land the heel. As a result this version of the skill is nearly useless as its low damage output makes it not worth going for unless you are trying to catch someone's roll, trying to use the tracking to hit a fast moving target near you, or are simply using it defensively to trade with potent close quarters options like Rapid All Might gamma amd Strike Dabi beta.

Large AOE This is the game defining move right here. When you use beta from high in the air you will create a large AOE upon landing that will do large area damage often reaching 200 while forcing everyone hit to be knocked down. If you land the heel you can even see damage values as high as 300 which is among the highest single move damage values in the game. Landing this on a target will often force them on the defensive or outright kill them so learning how to hit this reliably is key.
Add GIF for large AOE

It's not always about damage. Due to beta's high down power on both versions it can sometimes be worth it to try and use small beta to simply knock the opponent down and give yourself time to retreat. Doing 60 damage and surviving is often better than doing 200 and then going down yourself.
Use mixups. Betas long endlag can be quite punishing, sure, but there is an alternative. If you don't hit the target but they are still close to you, you can use another beta to get out of the first betas endlag faster and potentially hit the target resulting in no punish. It's recommended to use this rarely though as if the enemy predicts it you often take more damage than if you simply sat there the first time.
Jumpscare people. This move thrives when you get to use it in large fights where you're not the priority. Look to interrupt engagements with large beta to hit multiple enemies at once for high damage since landing betas on targets expecting it will be much more difficult. Additionally, using alpha before a beta can be a good way to get bonus damage but doing so will also alert the enemy of your presence, so only do that when they can't escape regardless, often because they have low mobility.
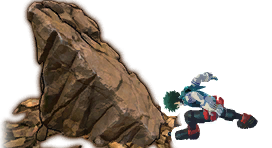
This skill creates a wall in front of the user that varies in size depending on level. This wall has great defensive utility especially when used to block doorways. This skill also has mobility amd damage application, however, the mobility itself is not that great and mainly just used to setup into alpha and large beta. Its damage however can be quite good as while it may not hit that hard on its own, it has fairly good combo utility and when used right can result in burst damage higher than characters like Denki. The cooldown on these walls is extremely short so while his walls may not be as individually threatening as characters like Shoto and Momo, he makes up for it by being able to use his more often. Gamma level 4 brings great value as the larger wall meets a lot of the thresholds needed to fully block most doorways. Gamma level 9 however is often overkill so level 4 tends to be fine.
This ability can also damage the enemy through thinner walls, making it an option when you hear an enemy drinking or resurrecting a teammate near a wall. While this skill can also be used to trap characters in buildings and force them to take another exit and potentially lead them to Poison Mist DMG, most of the time it's better to save that gamma charge for mobility.

As of season 18 gamma has been fixed and now does block most AOE attacks.
By inputting gamma right after a jump you can do the gamma faster. It doesn't save much time, but this is vital in combos and always better than ground gamma.
Gammas height and distance is determined by your camera when you hold gamma. The further up you look, the higher you go and the more forward you look, the more forward you go.
Include a GIF of gamma going forward along with gamma going upwards


Understand large beta threshold. Given how gamma is your main setup for large beta it's important to know just how high up you need to look when using gamma to get large beta. I suggest going into training and tweaking your angles until you can consistently get the large AOE and still get good distance forward on gamma.
Utilize air gamma. Using gamma mid air will give one of the fastest fall speeds in the game. This can be very good for avoiding enemy projectiles that being in the air almost always risks and simply just breaking line of sight against an enemy for a short time to get away.
Walls aren't just for keeping people out. Sometimes locking an opponent inside a building with you by using gamma on the doorways can be extremely potent at getting the kill.
Brittle walls. Your walls are sustainable against most characters, however, keep in mind how quickly they may break against large barrages of attacks and lingering AOEs like Momo's gamma and Strike Shigaraki's beta. Knowing when its safe to hide behind a gamma is valuable information.
(Insert gammas defensive chart here)
This skill's use is limited but not 0. It allows Deku to pick up a downed ally and either drop them for a revive or carry them away first. It's almost never recommended to carry them away with the main use being to simply get them out of the Poison Mist. Carrying someone for too long risks inturuption too much. This action tends to be quite risky as if an ally has gone down there is likely enemies near, so analyze the surroundings and determine if it's safe. There are many setups Deku can use to get the revive more consistently like using a beta to knock down all targets near your ally and then picking them up or you can use a wall to block enemy projectiles and pick them up safely that way. You will find this skill to be rarely used, but if used in the right scenarios it can save the game.
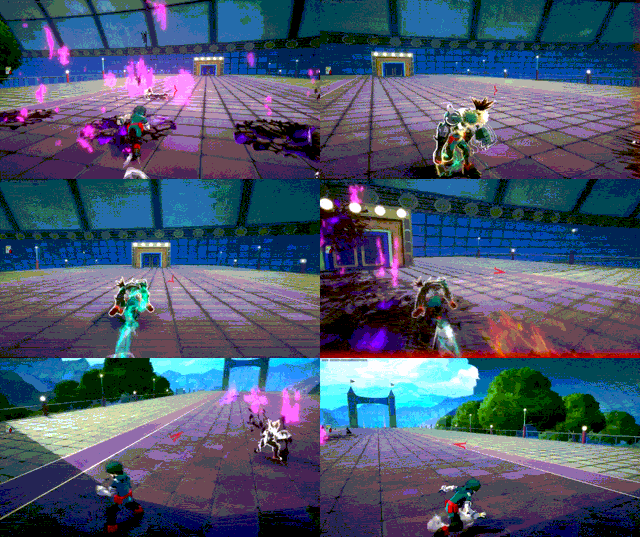
Ground Melee
This is a 4 hit combo with very short range and a good bit of commitment. I recommend essentially never using this as it's simply too difficult to land consistently in matches for the reward it gives.
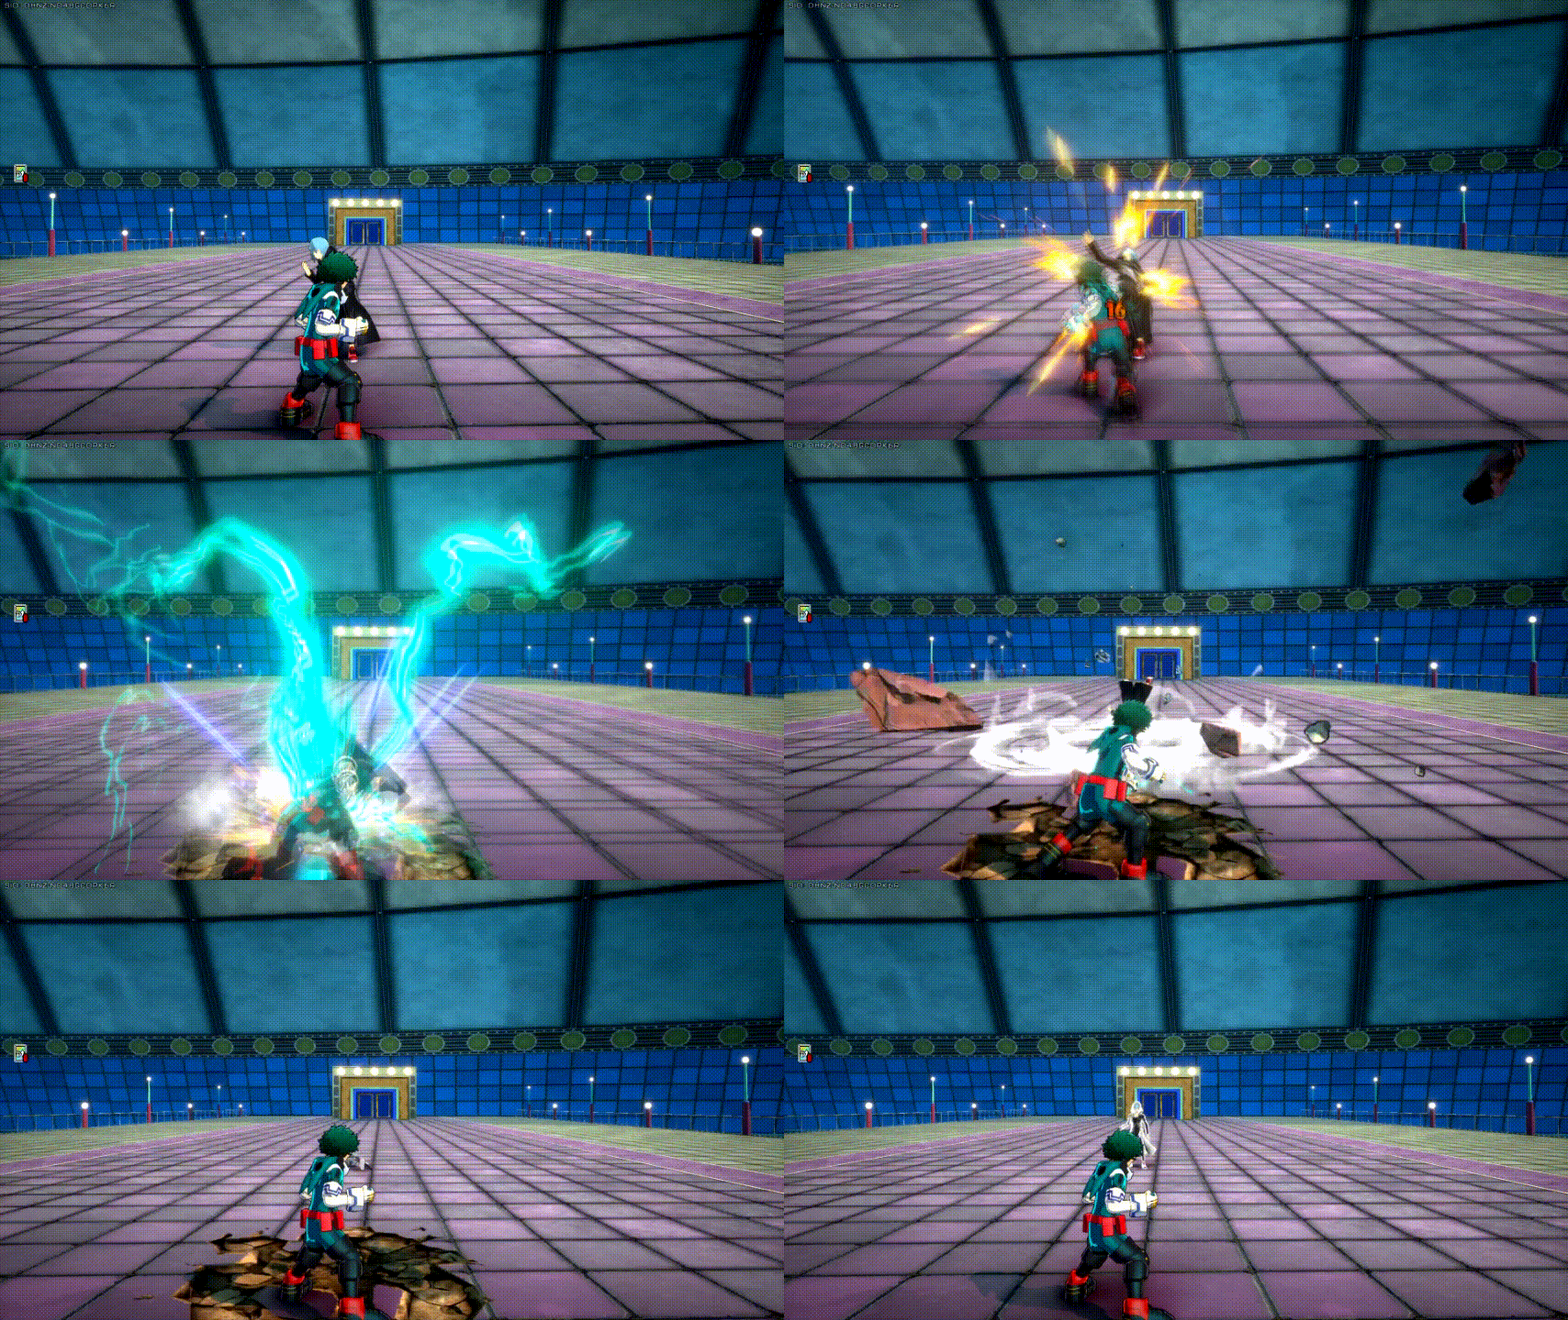
Air Melee
This is essentially better than ground melee in every way as it has a fair bit more of a disjoint due to its tracking and it has less lag with more combo potential to boot. It's still not incredible nor do I suggest using it on a game to game basis, but landing this hit can be good when the situation calls for it.


In this section I will discuss what the main benefits are behind leveling up your skills and showcase the damage scaling and any other scalings you may experience. Note that the damage numbers shown here are including the 5% increase in damage from Full Bullet's Strike passive.
Alphas main scaling comes in large part to how well unaimed alpha scales.
Unaimed = 15 per pellet (75 total) damage Aimed = 66 damage
Noting this scaling it's reccomended to not rely on unaimed alpha too much at low levels. Its damage is higher, but not by a significant amount and the extra range and consistency from aimed in will make up the difference 90% of the time.
Benefits +1 ammo Hitbox size +
Unaimed = 18 per pellet (90 total) damage Aimed = 72 damage
Getting level 4 is where unaimed alpha's damage starts to outscale aimed by a significant enough amount to be worth using. Additionally, the hitbox size increase will allow you to land max unaimed alpha damage from much further away consistently.
Benefits +1 ammo
Unaimed = 21 per pellet (105 total) damage Aimed = 78 damage
The gap has increased enough to make 4 hits of unaimed do more than aimed. This is where using unaimed essentially all the time when it will be in range is most viable
Benefits Hitbox size +
Unaimed = 24 per pellet (120 total) damage Aimed = 82
The hitbox size increase here will actually make unaimed alpha function better than aimed alpha at unaimed max range. This is why alpha scales so well, but at low levels focus more on aimed alpha for consistency.
Heel = 84 damage Small AOE = 63 (147 with heel) damage Large AOE = 147 (231 with heel) damage
One charge may seem bad, but the benefits of an extra charge are actually not that big. The main reason to level beta is usually more the damage itself.
Benefits +1 ammo
Heel = 84 damage Small AOE = 79 (163 with heel) damage Large AOE = 163 (247 wit heel) damage
The 2nd charge has uses in mixups mainly, but really the main benefit is again just damage.
Heel = 84 damage Small AOE = 95 (179 with heel) damage Large AOE = 179 (263 with heel) damage
The damage scales quite well into later levels. Nearly 180 on an AOE that big is great.
Benefits +1 ammo
Heel = 84 damage Small AOE = 105 (189 with heel) damage Large AOE = 189 (273 with heel) damage
The 3rd charge can have an impact, but again this is mostly for damage.
105 damage
The damage and hitbox here is fairly underwhelming. Levels make the wall more proficient overall.
Benefits -0.5 sec from cooldown -1 sec from penalty cooldown +1 rock piece
121 damage
The extra rock piece and cooldown enhancement makes getting this level very valuable. This is where the wall starts working, well, as a wall.
135 damage
The damage stops scaling well after this point.
Benefits -0.5 sec from cooldown -1 sec from penalty cooldown +1 rock piece
142 damage
The 3rd rock piece sounds more useful than it actually is. Not useless as it does allow you to block some doorways you couldn't before and makes the combos easier, but the value here isn't much higher than level 4.
Noting all these benefits for their levels I think it's safe to say that alpha needs them the most. Unaimed alpha simply scales too well with levels to ignore as the damage scales really fast and the hitbox size is effectively increasing your effective range. Alpha is your priority and then afterwards beta 4 and gamma 4 will both bring decent value. Beyond that however you are mostly leveling the skills for damage
This path is good for players looking to use his sheer power better.



This path just gets gamma 4 a bit earlier to take advantage of the utility provided from the extra size. This is the preferred path in the current meta for Season 18.
The different ways you can combine and chain various skills for higher damage within 500 DP (down power). The down power of Full Bullet's abilities are as follows:
Alpha Skill: 35 DP (Per Pellet), 175 DP (All Pellets), 250 DP (Aimed In)
Beta Skill: 100 DP (Heel), 500 DP (AOE)
Gamma Skill: 100 DP
Ground Melee: 100 DP (Melee 1), 50 DP (Melee 2, Melee 3, Melee 4 Individually), 250 DP (Full Melee String)
Air Melee: 250 DP
The text of the combos below will be colored by how true they are, in this case, we will define as "True" combos that, without 3rd party or tuning interference, can only be escaped/interrupted by Overhaul and/or Mirio, as those are special cases.
White Text means that part of the combo is True on both GP and HP.
Green Text means that part of the combo is True if the target is on HP only.
Blue Text means that part of the combo is True if the target is on GP only (Guardbreak hits are considered GP hits).
Red Text means that part of the combo is Untrue, and therefore the enemy can escape it.
The DMG of the following combos at max level and accounting for the character's strike role is classified under the following tags:
Basic DMG (100-149 DMG), Basic+ DMG (150-199)
Light DMG (200-249 DMG), Light+ DMG (250-299)
Medium DMG (300-349 DMG), Medium+ DMG (350-399)
High DMG (400-449 DMG), High+ DMG (450-499)
Heavy DMG (500-549 DMG), Heavy+ DMG (550-599)
Deadly DMG (600-649 DMG), Deadly+ DMG (650-699)

While this combo may not be true, simply converting a stagger into alpha spam will often result in high damage.

It's a simple and strong air melee convert.


A strong combo with many further routes to take afterwards.


Much more complicated combo with high burst damage potential if landed.


A simple combo after raw gamma. Using alpha has no real risk if you miss so may as well use it.

Just the last one but for when you land the gamma in a way that can combo into another gamma.

This tends to have rather specific spacing and is usually just good indoors.


Full Bullet's combo game isn't really extensive. It's mainly just converting off gamma into either alpha, another gamma, or sometimes beta. He's mostly just fundamentals.

Full Bullet Deku's main effective range is not as close as you may think. Try and stay with a small amount of range between you and the target so you still get maximum damage from unaimed alpha while being able to avoid attacks on reaction.
Due to Deku's low mobility and HP he often gets punished extremely hard for being poorly positioned. Try to find spots where you can use gamma to block off enemies and properly take advantage of the enemies weaknesses in the way you fight.
Full Bullet Deku used to be among the most selfish characters in the game, but the new direction he was taken in during Season 15 has fundamentally changed this to be the opposite. Aimed alpha is great for disrupting enemies that are annoying your teamates, unaimed alpha is great for adding lot's of damage to team combos, and gamma is great at protecting allies. Deku is versatile. but he accels with a defensive team and can really dominate with the proper support from his allies and vice versa.


Strike Slots: HP/Alpha DMG 🡪 Beta DMG 🡪 Gamma DMG
Assault Slots: HP DEF 🡪 GP DMG 🡪 Alpha DEF 🡪 Beta DEF 🡪 Gamma DEF
Rapid Slots: Beta DMG 🡪 Gamma DMG
Support Slots: Gamma DMG 🡪 Max HP 🡪 Max GP
Technical Slots: Alpha DMG 🡪 HP DEF 🡪 Gamma DMG 🡪 Max HP
Full Bullet Deku really appreciates mobility enhancements. His damage is so high that further amplyfying it is often overkill, so focus more on tunes that let him survive when being pushed longer.
| The list of recommended special tunes (not ordered): | ||
|---|---|---|
 |
Hyper Regeneration Best paired with Revenge Support or Critical Permeation to take advantage of the extra GP provided. |
|
 |
Revenge Support Generally increasing survivability is always nice, but especially so when paired with Hyper Regeneration or Critical Permeation. |
|
 |
Critical Permeation Critical Permeation let's you heal mid-combat or reposition if need be which has great value in game. It's best paired with High-Speed GP Replenishment or Revenge Support. |
|
 |
Bunny Hop Full Bullet can often struggle to get away from a fight once he gets knocked down, so this tune helps mitigate that issue and let him create distance well when needed. |
|
 |
Crushing PU Charge Full Bullet is so good at getting kills fast that he can really abuse this as a lifeline when he needs. |
|
 |
Extra Wind Full Bullet can easily ignore beta and gamma levels to an extent for the purpose of recharging Plus Ultra later which allows him basically 3 Plus Ultras throughout the game whenever he wants. |
|
 |
Ability Manifest Being able to extend the duration of Support and Assault ability cards will make you much more durable. This is best paired with Card Duplication. |
|
 |
Card Duplication Being able to convert his kills into more damage and defense later via more levels as well as eventually converting these levels into Support cards is just a great late game enhancement. |
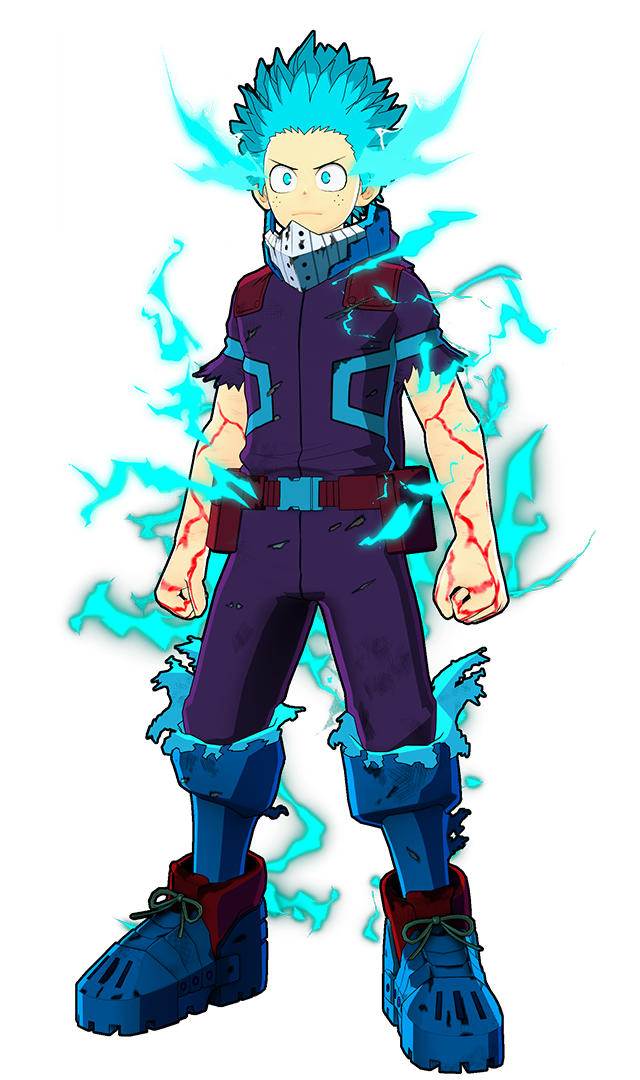
While the Assault slot isn't that good, this build gets extremely high base damage on his abilities.


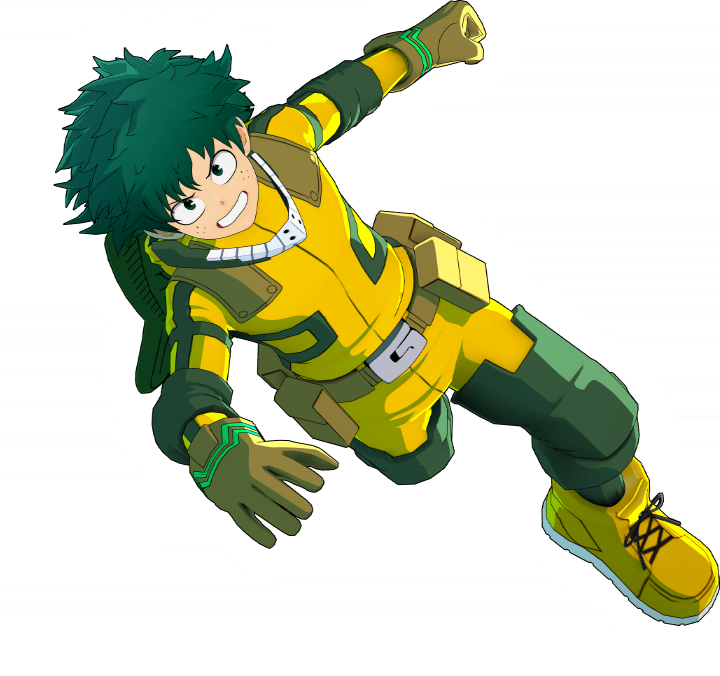
This build provides a great combination of offensive capabilities and special tunes to back it up.


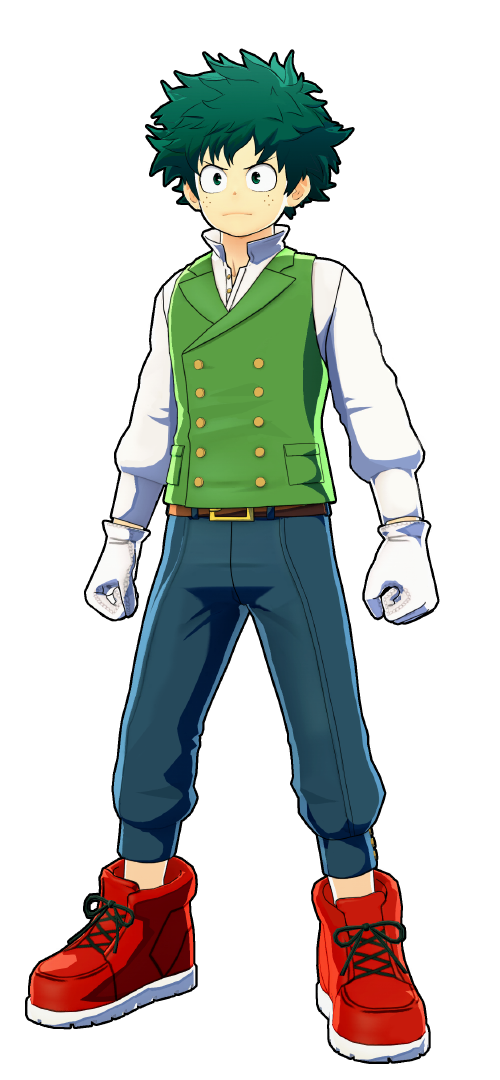
Hyper Regeneration and Revenge Support just make a great duo for Full Bullet. This is my pick for the best build overall currently despite its lack of damage tunes compared to other options.


This build isn't too good now, but if we ever got a better Assault villain special tune for Full Bullet then keep your eye out for this one.
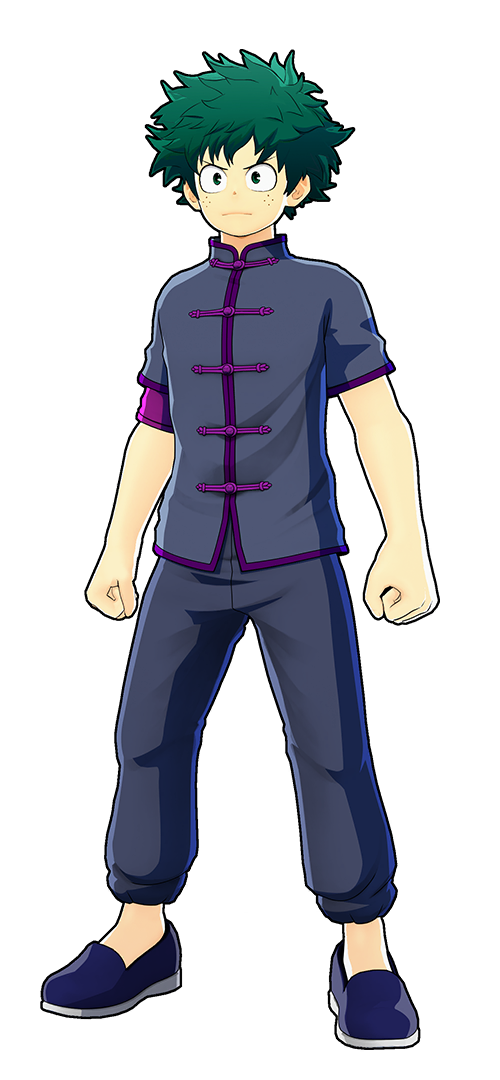
Strike villain special tunings aren't great, but despite that this build is still extremely strong with among the highest alpha damage in the game.


Revenge Support + Critical Permeation is a fantastic duo for trying to survive the chaos of late game.
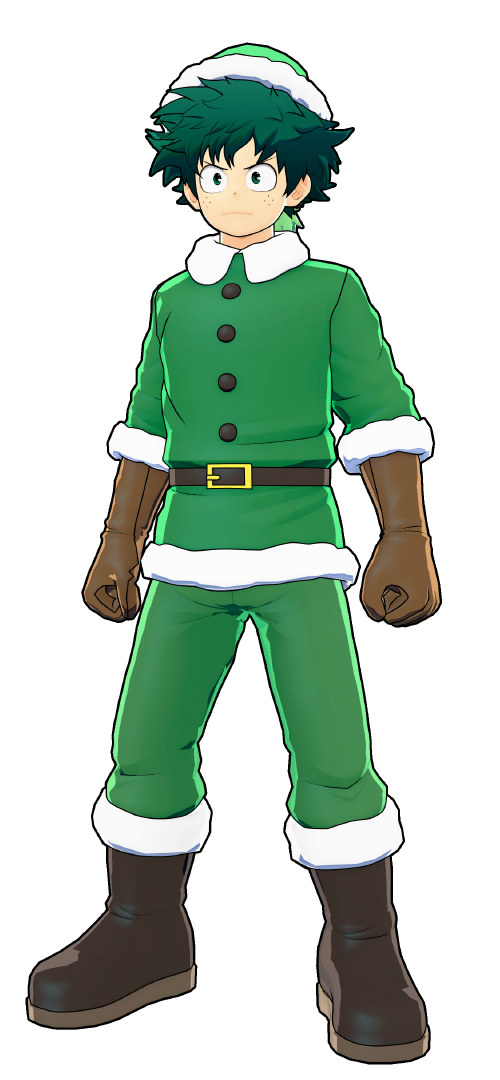
Just like Parallel World this build may not turn heads now, but if the right Support special tune happened that could change fast.
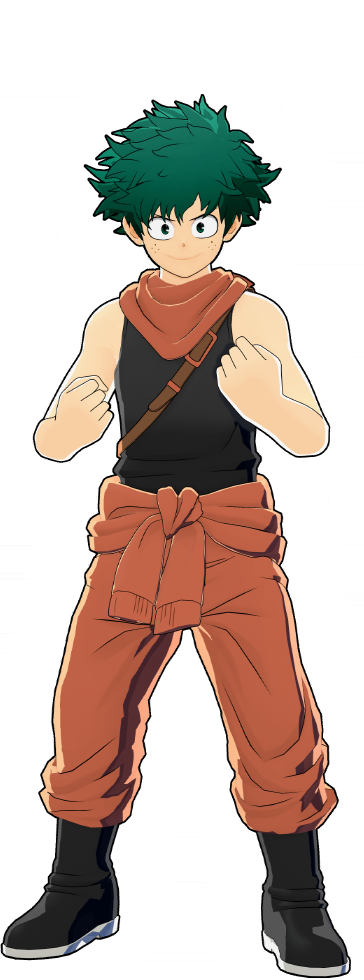
Double Tech for Critical Permeation and High-Speed GP Replenishment. If you're not using that combination it's suggested to look elsewhere as that's all this build has that's worth mentioning.
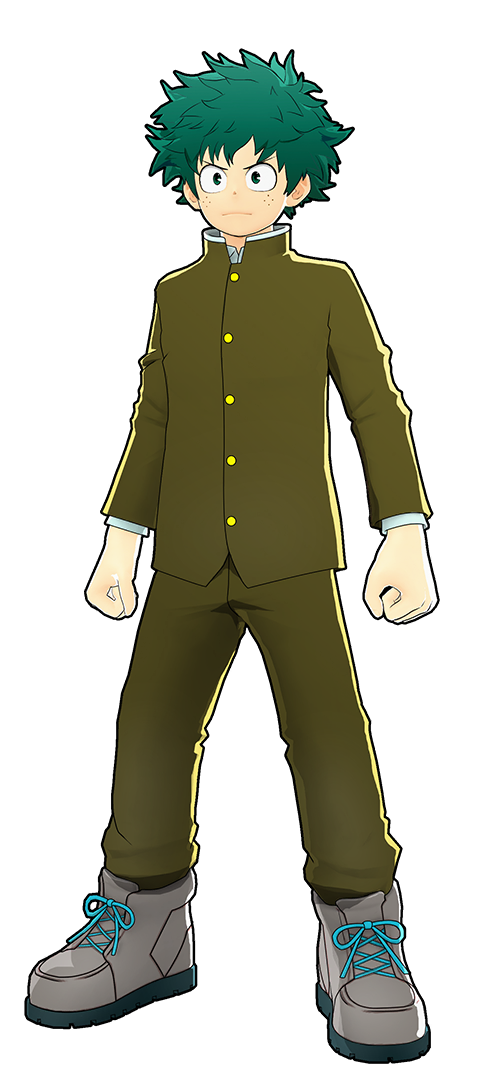
The best double Rapid build he has if you want that.
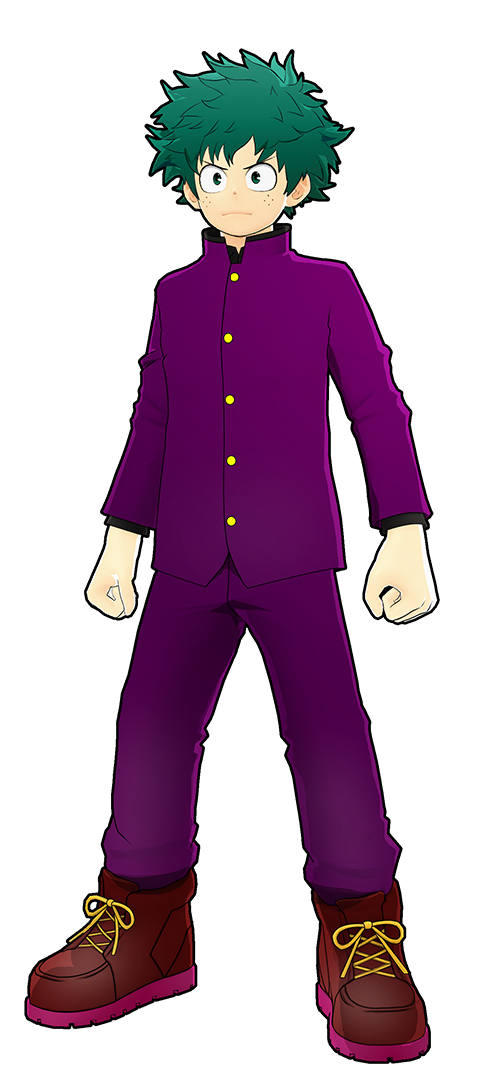
It's a sidegrade to base Undefeatable as it has slightly more damage on GP but less on HP and that's about it.
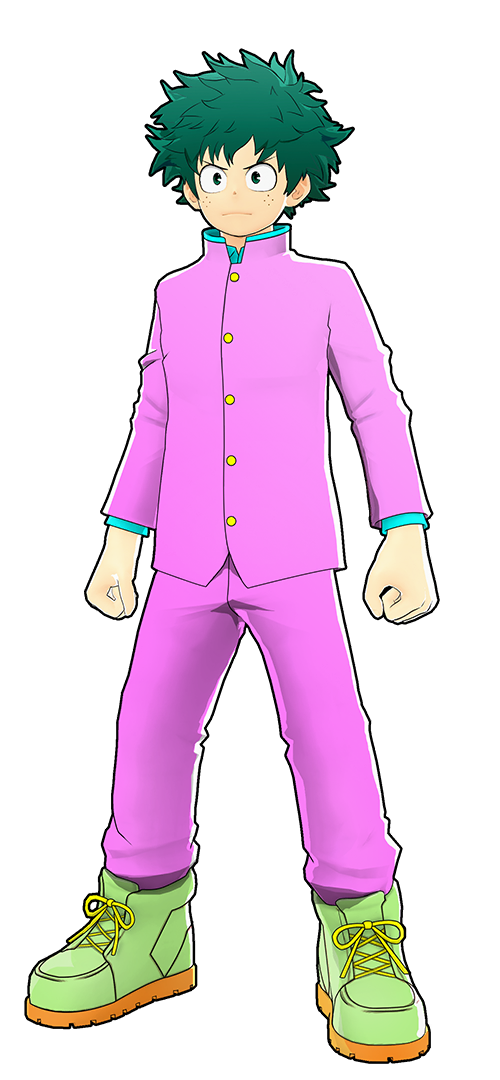
Not a super special fit outside of being the best raw Tech build, so it works well for double High-Speed builds or just using Critical Permeation or something in isolation with better regular tunes.
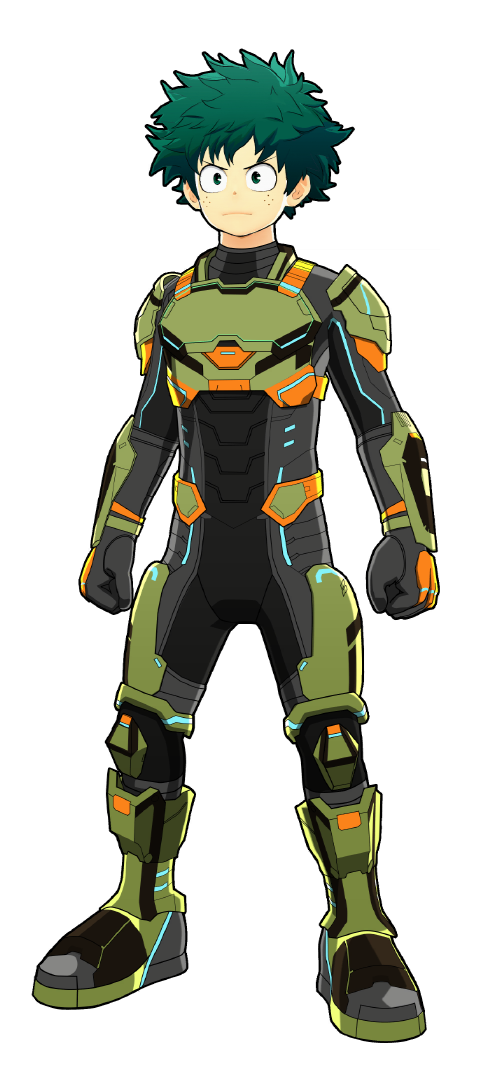
One of the highest damage builds currently in the game for Full Bullet and it has a strong special tune loadout with a lot of versatility. Essentially, regardless of what changes are made to Deku and any tuning skills, this build will always remain viable even if you need to change it sometimes.

To save on time and get the update out, I'm gonna simply focus on giving advice your matchups that are difficult for Deku with a full list happening eventually.

Don't fight him in open areas and avoid using Manchester when he's near as his Blackwhip combos can hurt. If he lands a Blackwhip spam air melee or unaimed alpha depending on if he's close enough for melee to hit and you might disrupt his combo or trade damage. Stall him out with gamma and knockdowns until you have a significant advantage and then go in for the kill.

OFA is surprisingly frail. Just try and use unaimed alpha when he gets close to prevent him from trading for free and stay out of the air. If he starts to spam ground alpha you can trade with it with aimed alpha if you time it right.

Hitting Rapid Bakugo is extremely difficult, but if you force him to fight you in an enclosed area it's way easier. If you can aim against him normally though he shouldn't be a huge issue.

This matchup is rather difficult on all fronts. If you can, try to lure her into using gamma and punish it with your own alphas.

This matchup is extremely difficult due to Iida's priority in the close quarters being vastly superior to yours and his high mobility let's him be nearly impossible to hit with projectiles. Against him just roll his attacks and stall him out with your walls until he starts to run and then chase him to punish the burnout.

Strike Shoto makes being on the foor extremely difficult and is another character that makes going for Manchester really difficult to recommend when hes around. Don't fight him indoors and just focus on ranged pressure from above. If the Shoto can match you in alpha aim then this matchup gets extremely difficult and it's reccomended to stall him with gamma when possible and 3rd party him when hes weak to eliminate him.
She's almost as hard to hit as the other Rapids mentioned. For this one just focus on kiting backwards and using aimed alpha from afar and uniamed from up close. Your sheer damage should ward her off you and your team if you can hit a few shots which is easy to do if she whiffs beta.

You may think to gamma through his shield, but if the Kiri sees this coming then he will let go of shield and jump over your beta. Against Strike Kirishima just focus on punishing his attacks, mainly gamma, with your unaimed alpha, and if he catches you in the air don't be afraid to use gamma's fast fall to dodge his gammas.

She's difficult to approach in buildings and her cannons destroy your wall so fast that you can't even really rely on the wall here. Just keep your distance with alpha and go in for betas when she's caught in a bad spot.

This character is nearly impossible to fight. The only real solution I can give is to use gamma to go in the air and use alphas to weaken her. She will beat you in every engagement and you can't even stall her because her gamma shreds your gamma. Just do your best to 3rd party her before she deletes you.

He's difficult to face but he can't really do much damage to you directly. Just focus on being able to whiff punish Mirio's beta and gamma, but be careful when Mirio misses beta since Mirios will commonly use gamma right after beta so keep the beta whiff punish brief.

He can't really punish you for building camping too hard, but when you're in the open against him try not to go in the air much so that you can avoid gamma when he uses it.
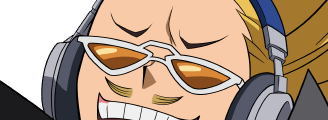
He will out pressure you at most ranges, but not by too much. If you catch him in a bad spot you can pretty easily set up for a good Manchester and then finish the job from there. It's especially important to not barrelstuff him so you can remain able to avoid beta and gamma.
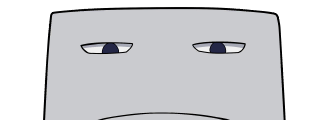
Do not fight him indoors. Just use gamma jump to get off the ground and use alphas and sometimes beta when he's right below you.

He can punish you quite hard with his extreme damage, but if he whiffs a beta you can punish him extremely hard too. Just respect his beta and try not fighting him without GP to avoid the alpha stagger.
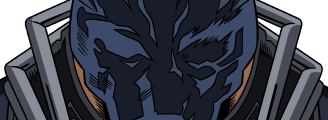
He can be oppressive and make it difficult for you to stay indoors safely, but you can also punish him really hard by using large AOE betas outside the door of his buildings to hit him and simply using alpha when he's vulnerable.

Focus on using aimed alpha to disrupt his beta and catch his flight whenever possible. He is capable of dropping a large AOE in your building which makes building camping against him hard, but if he enters a building with you and doesn't have a hold beta coming in then thats a perfect opportunity to try and take him out with unaimed alphas and gamma combos.
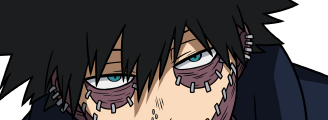
Tech Dabi's ranged presence is quite bad so just don't approach him. Once you catch him rotating you can try dropping on him with beta and if it lands you'll probably be able to finish the job quickly.

Do not use unaimed alpha here without extreme caution. If he reflects even one back that can hit you for over 400. Just use aimed alpha to knock him down out of gamma and be wary of his truck stagger.

If he uses heal on himself then that's usually your time to leave. You can't really face Overhaul in close quarters because of his gamma so your best bet is to usually catch him with a suprise Manchester and then pepper him with alphas between his gamma cooldowns until he either goes down or uses heal.